Using Peyote Pattern Charts
Today, I’m addressing another question from a beader on my mailing list. (Just use this link if you want to join and receive great beading tips delivered to your inbox for free, every month). Arlynn has just received a wonderful gift: a Peyote pattern chart detailing a large image of a favourite pet. This is going to make a beautiful wall hanging, but she wanted to know if I had some tips for using Peyote pattern charts. So, knowing how popular this type of beading is at the moment, I felt sure there would be others out there who would benefit from this too.
What is a Peyote Pattern Chart?
Basically, this is a chart for making a flat piece of Peyote. It can be worked in odd count or even count. Typically, you will see a ‘picture’ chart like the one below.
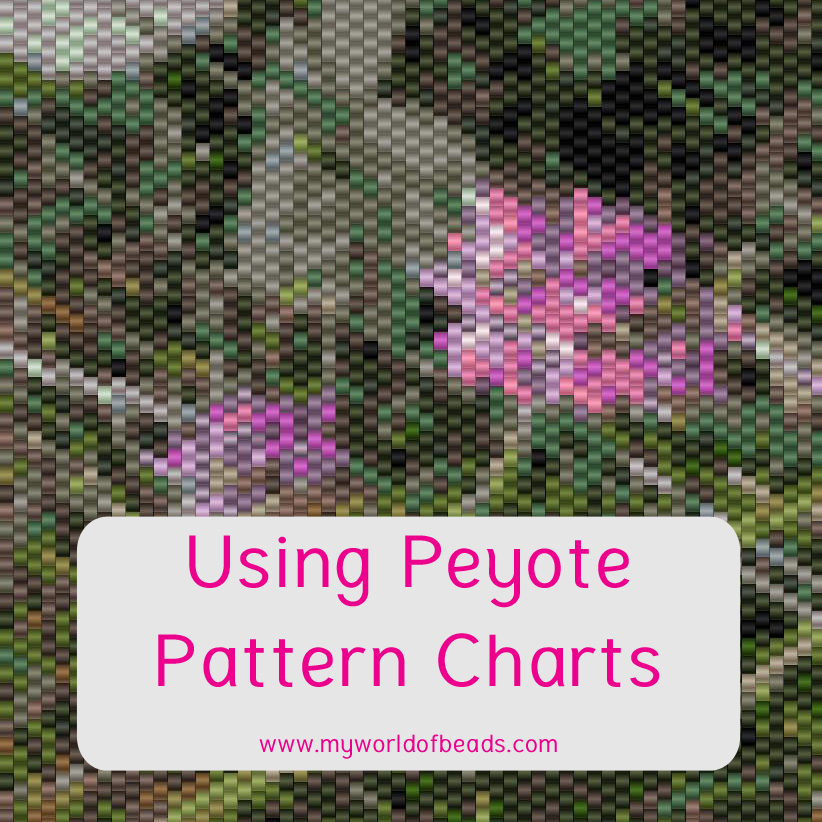
This is a ‘random’ sample I generated using ‘BeadTool4’ (I will be writing about that design software in the next couple of weeks. So, if you’re interested, make sure you’re on my mailing list, so you don’t miss out on the information).
A chart can make any size of finished item. So, this could be something relatively small, like a pen, or a bracelet. Or, it could be as large as a full-size tapestry to hang on the wall. In the latter case, you’re talking about thousands and thousands of beads.
Back in the ‘olden days’, before we had software like BeadTool4, a designer would have to use a blank sheet of Peyote graph paper and colour the squares to create a pattern. Then, read the image chart.
Nowadays, the design software will automatically produce a word chart, which tells you which beads to add, in which order, to create the image.
As you might imagine, generating a word chart by hand is pretty time-consuming. So, back when I started, it was not expected that word charts would exist. People learned how to read a picture chart (it’s not that hard!). Sadly this is becoming a dying art these days. But that does mean that some older patterns are going to become impossible for anyone without that skill. So, if you’re still wanting to learn skills like this, I have an online course that will teach you everything you need to know. Click here to access the course.
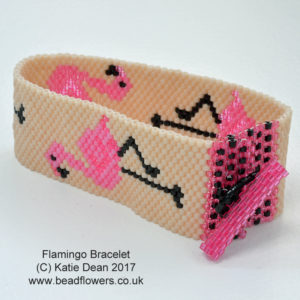
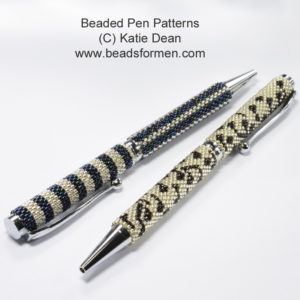
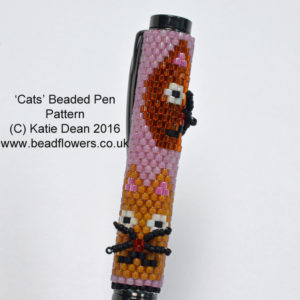
Both these beading patterns are available from Beadflowers.co.uk
Tips for using Peyote pattern charts
Now, full disclosure here: the largest pattern chart I have beaded is probably only about 60 rows in size. So, you can go a LOT larger than that. The question that Arlynn wanted answered was how this huge size affects the beading process.
So, if you have a word chart to follow, you’re in ‘easy street’. Your biggest problem will be in remembering which row you are beading! You should create a duplicate copy of the chart that you’re happy to scribble on. Then just use a pen to cross off each row (or part of the row) as you add the beads. It’s a good idea to keep the picture chart handy as well, so you can consult that. But there’s really nothing at all difficult about this process.
Starting out
With a huge picture, you may be looking at the need to add over a hundred beads to create your first string. Working back along that, your row 3 beads may still come to 100+. So, that length of ‘bead-string’ is going to be tricky.
If you’ve ever beaded just a narrow bracelet in Peyote, you will know that the initial string of beads can twist itself over until you have row 4 in place. After that, your work will sit flat and is easy to handle.
The problem is, if the bead string twists itself around, you might accidentally be picking up a bead from row 4 and passing through a bead from row 1, instead of row 3. This would immediately get your pattern out of order.
So, I would strongly suggest using a starter strip. You can buy these to make. But you really don’t need to…it’s easier to create your own.
DIY starter strips
To do this, take your sample pattern, plus a quantity of Delica beads in a single colour. Use these beads to bead the first four-six rows of your sample, but WITHOUT adding in the colouring. So, you will end up with a narrow band of Peyote in a single colour, the width that you need for your project. (Because you used just a single colour of beads, it doesn’t matter if your rows 1-3 twist around).
Finish the threads on your starter strip.
You can then take a new thread, add a stop bead, and pass through the last row of your starter strip, as if you were about to begin the next row. Add the beads for row 1, then continue with your pattern as normal.
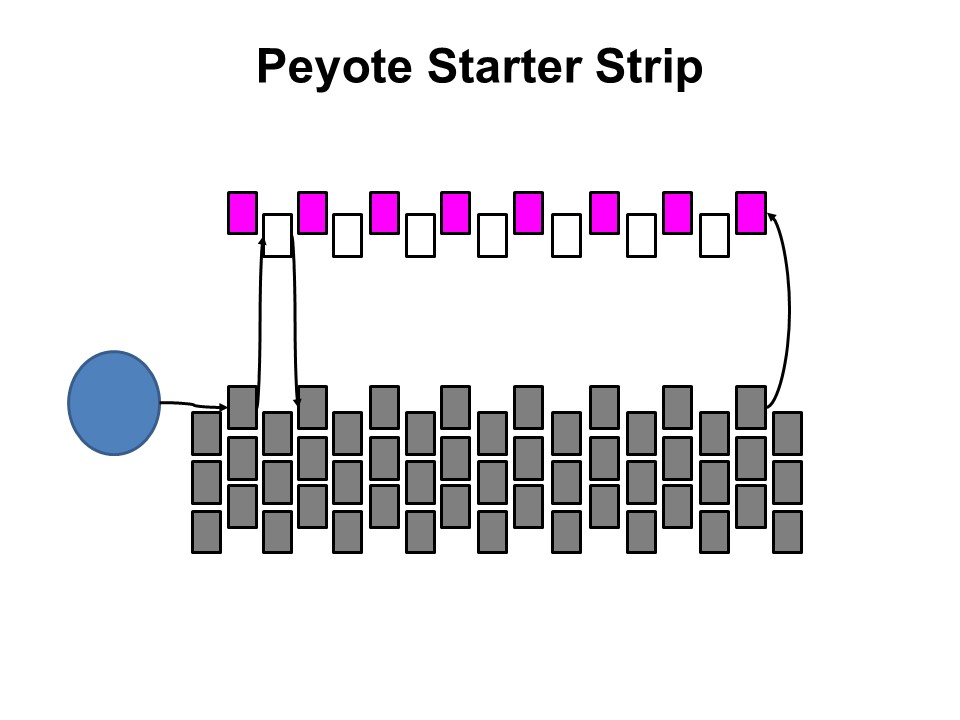
Note: if your word chart has given you rows 1 and 2 combined for the first row, you will need to refer to your picture to work out the bead sequence if you separate out the beads. Some word charts give both options (using a starter strip, so with the rows separated out, or starting from nothing – a single string of beads).
Once you have at least 6 rows of your pattern in place, just remove the stop bead from the end of your thread and carefully ease the starter strip off.
You can use the starter strip again.
This is not a detailed guide to using starter strips. If you need a real step-by-step guide, I have dealt with that elsewhere.
Using the starter strip will help you get your tension right from the beginning.
Where should you start?
In some projects, there may be an advantage to beginning in the centre of a project and working outwards. But when you are using Peyote pattern charts, you will just make life very difficult for yourself if you try to begin in the middle.
So, if you are following a word chart, just follow that from row 1 to the end.
If you are reading a pattern chart, some start from the top and some start from the bottom. How do you know which is the correct end to begin?
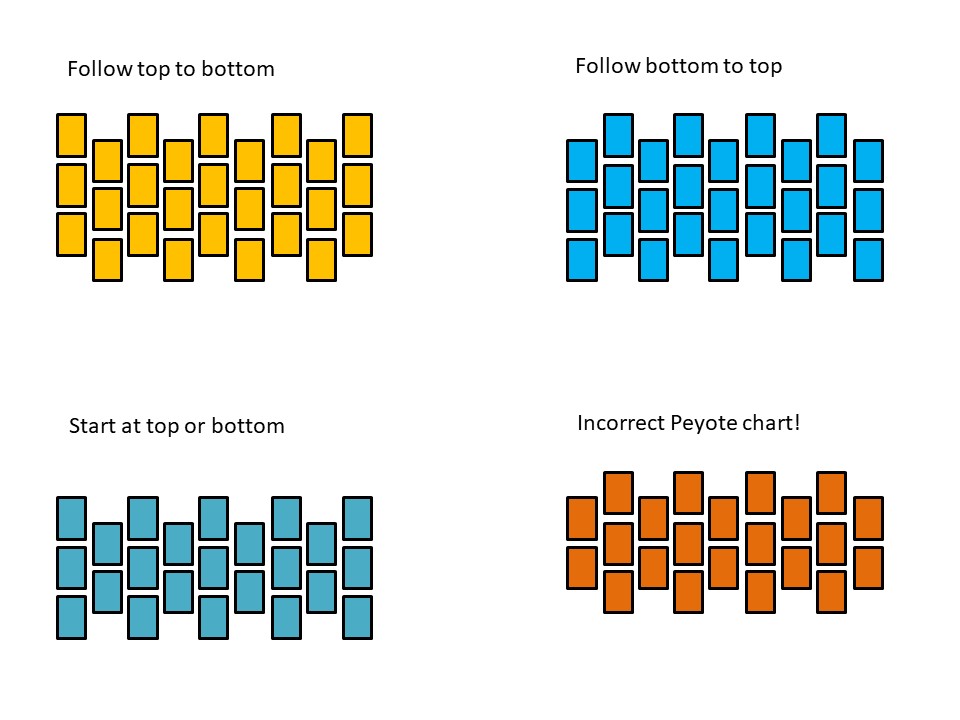
You should look for the bead placement on the right-hand side of your top and bottom row. If your bottom row has a ‘down’ bead on the bottom and a ‘down’ bead on the top, you will follow the pattern chart from bottom to top.
If your bottom row has an ‘up’ bead on the right-hand edge of the bottom and an ‘up’ bead on the top right-hand edge, you should follow the pattern from top to bottom.
Then, if you have an ‘up’ bead on the right-hand edge at both top and bottom, you can read the pattern in either direction.
If you have a ‘down’ bead on the right-hand edge at bottom and top, then whoever drew the pattern made a mistake…this won’t give you a proper Peyote start or finish!
Thinking about tension
With a large project, you are inevitably going to be beading over a long time. This could be months, rather than days or weeks. Now, I don’t know about you, but my beading tension varies very slightly from day to day. So, it’s inevitable that your tension won’t be perfectly consistent over the course of the project.
However, this doesn’t have to be a problem. Firstly, just keep an eye on things and try to make adjustments if you notice your tension changing too dramatically. Secondly, it’s worth pausing at the end of every few rows, and using your hands to just ease the beadwork into shape. This will help to combat any unevenness that might arise from changing tension as you work.
Other practical concerns
Again, with a large project that is spread over time, it’s easy to lose track of things. I’ve talked about marking the pattern chart so you don’t lose your place.
You also need to keep track of your beads. Your pattern chart will have labelled your bead colours. So, if you’re having to pack up between sessions, make sure you have your beads clearly labelled and keep the beads for this project all together.
Many of these Peyote pattern charts use a large variety of colours (60 or so). That’s a lot of beads to fit on your mat. So, you might want to look into household objects that you can use to hold small quantities of each bead colour. So, in effect, your beads are separated into piles that won’t run into one another. You may find something you can use in a thrift store. Think about other areas where it’s necessary to separate quantities of items, e.g. pharmaceuticals that separate or count out pills. You can also line an upturned lid from a small bottle to create a makeshift bead holder. Is there any equipment you can borrow to help organise your beads as you work?
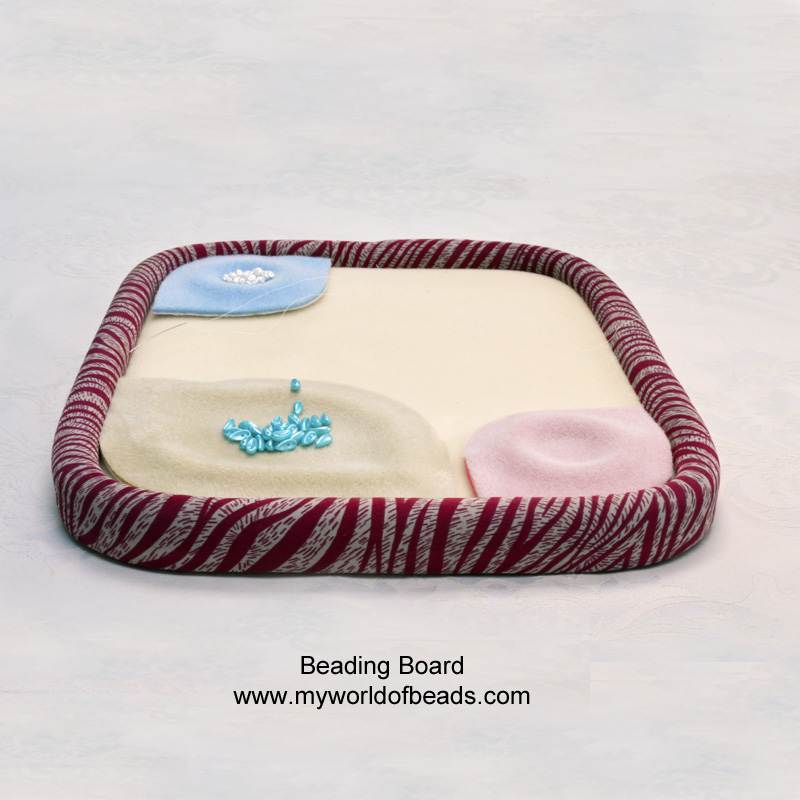
If you are working over many months, you might want to do some smaller projects in between. But if you find you need any of these beads for another project, don’t just take them out of your project pack. Instead, pour some of the beads into another container that you can use with the other project. That way, you keep all the beads for your large picture together at all times.
And, if you need any help with the ‘mental’ issues that arise from working on a large project, check out this blog post.
Over to You…
Arlynn, I hope these tips on using Peyote pattern charts will help you. Your project sounds amazing, so please make sure you let us know how you are getting on.
If anyone reading this has more experience with creating large Peyote pieces, please share your tips in the comments below.
And, if you want to get more beading tips like this, delivered straight to your inbox every month…all for FREE…this is the link to join my mailing list.
Lastly, if the idea of using Peyote pattern charts interests you, then beadable pens are a great place to start as a beginner. They don’t take too long to make, but you will get used to the skills you need. So, if you want to try one, this link has a lot of lovely patterns from which you can choose.


