Polymer Clay for Beginners
In this first in the series of guest blog posts by Polymer expert, Maive Ferrando, we’re going to start by looking at Polymer Clay for beginners. So, I’ll hand you over to Maive here and let her take you through some basics…
Getting started: Polymer Clay for Beginners
Getting into a new hobby is always a little bit daunting. There’s so much information and so many materials that one can quickly get overwhelmed and confused. So, to make it easier for you, I’ll guide you through some things that I think all beginners at polymer clay should know before getting started.
A bit about Polymer Clay
First of all, polymer clay is unlike any other clay out there in that you don’t need to let it air dry. But you don’t need a kiln either, like you would for ceramics or metal clay.
You can bake Polymer clay in a conventional kitchen oven at a recommended temperature of 110°C -130°C, depending on the brand. Just hold that thought for now and we’ll get into the details in a little while.
Polymer clay comes in all colours of the rainbow and in many different effects. Just a few of the varieties include translucent, pearl and stone effects. But there are many more varieties to choose from.
The main brands I work with are Sculpey and Fimo. But there are many more. Each has different qualities and levels of softness that make them suitable for different projects. The more you work with it the more you will begin to choose the right clay for your projects.
The one clay line I always recommend, to beginners and more experienced polymer clayers, is PREMO by Sculpey. This clay is of a medium soft consistency. So, it’s easy to condition and sculpt, and is firm enough to hold fine details. It also bakes very strong which makes it a dream to work with.
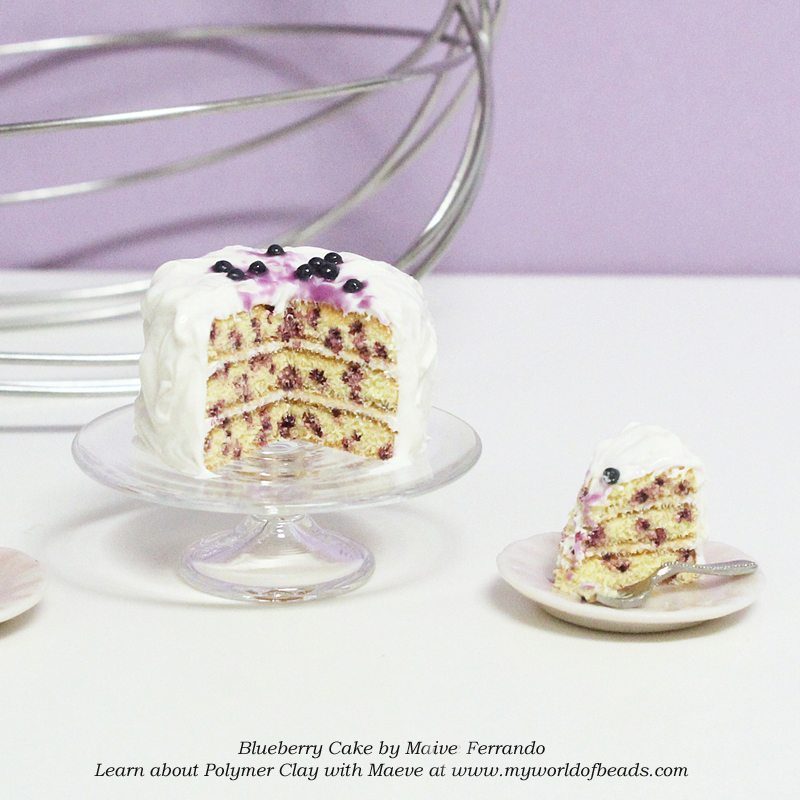
The main clays I use for sculpting are Sculpey Premo, FIMO Professional and Cernit. I use Sculpey III, Sculpey Premo and FIMO Soft to make frosting for cakes.

What next?
This is just a very quick little introduction to Polymer Clay for beginners. In the next post, we’ll be looking at the essential tools and materials to use when you start. So, if this has whetted your appetite, stay tuned…
Meantime, if you can’t wait for more, check out Maive’s YouTube channel for some fabulous tutorials that will have you drooling!


