How to string a necklace: free tutorial
I was recently asked how to string a necklace with beads. This question came from a lady who was quite new to beading and jewellery making. She understood the basic principles, but was looking for some tips. In particular, she was having trouble getting the second half of the clasp attached. You see, the problem with this stage is that the existing beads can loosen. If that happens, you end up with gaps between your beads, which isn’t ideal.
So, I decided the best way to help answer these questions was to make a video demonstration. I’ve popped it on my YouTube channel. But you can also view it here. I wanted to write this blog post alongside it to give you a little extra information about the tools, materials and techniques you’ll see me using. So, let’s get started…
Materials
Your first step is to gather together all the materials you’ll need for this project.
First, you’ll want some beads for stringing. In the example I’m showing you, I’ve used a selection of beaded beads that I made myself. Then, I’ve added 6mm spacer beads between those.
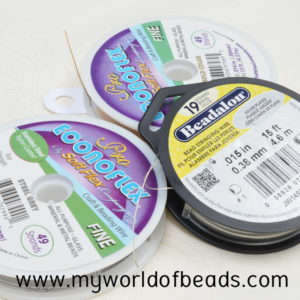
Second, you’ll want something to string them onto. For this project, we’ll be using stranded wire. I have a wire made by Softflex. Its brand name is ‘Econoflex Pro’ and it is a 49-strand wire. You can find out more about stranded wire in this blog. My beaded beads were quite heavy, so I decided to go for a wire with good strength. Depending on what you are stringing, you may want to choose a different brand and strength of wire.
Third, you will need two crimp beads. You’re going to use those to attach the clasp and hold the beads in place on your necklace. So, if you need more information about these, check out this blog post.
You will also need two split rings. I used 6mm size.
Then, you will need a clasp of your choice. In the video, I’ve explained about the clasp I chose, and also why I chose to use split rings.
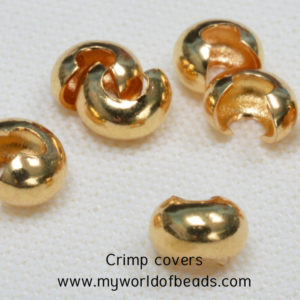
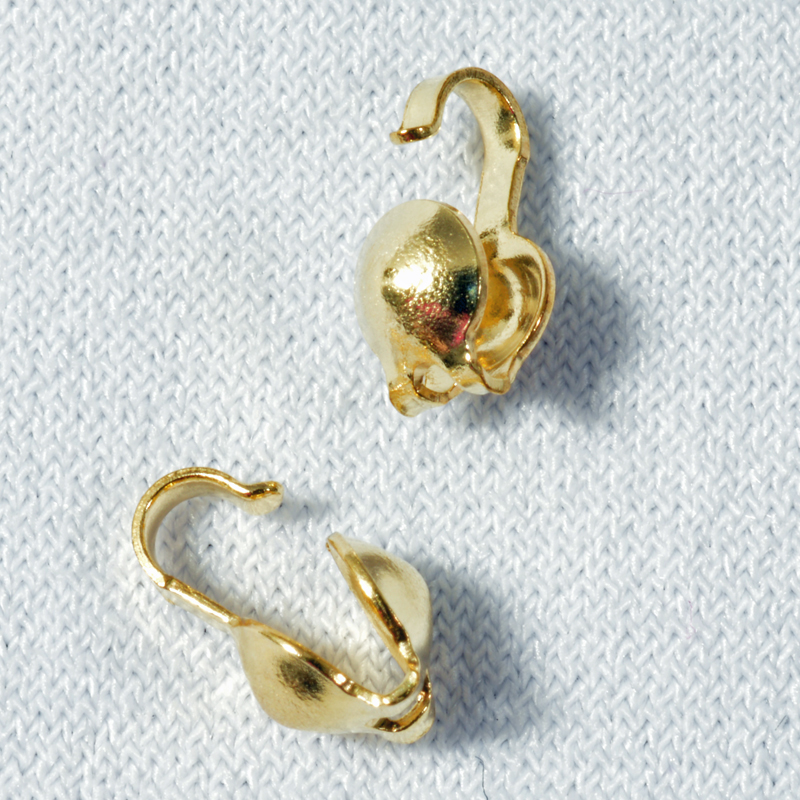
The last material is optional. If you want to create a really neat finish, then you can use crimp covers. You will need two of these, in a colour to match your other findings.
Tools
Now you’ve got your materials, how about the tools? If you’re learning how to string a necklace for the first time, this is pretty standard set of tools. So, if you’re needing to buy them, they are all worth the investment. You will find yourself using them over and over again. When you are buying, try to get the best you can afford. Cheap tools will break easily, so they’re not really going to save you money in the long run.
Here is your tool list:
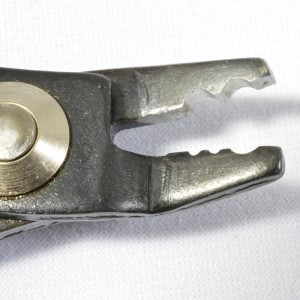
- Crimpling pliers (or you can just use your flat-nosed pliers)
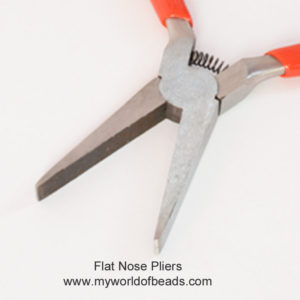
- Flat-nosed pliers
- Wire cutters
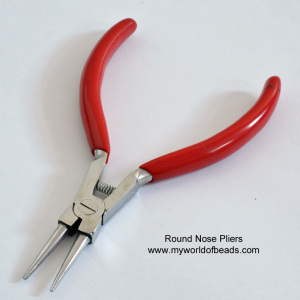
- Round-nosed pliers (for attaching your clasp)
If you need more information about any of those tools, then check out this section of the website.
How to string a necklace – your free tutorial
So, now you’ve gathered everything together, it’s time to get started. In this video, I’ll be showing you how to string a necklace. I’m taking you through from thinking about the design, right up to adding the finishing touches.
If you are a beginner, then this is almost certainly going to feel very tricky at first. It takes time and practice to get used to using the tools. The findings are small and tricky to get your hands around when you start. So, listen out for any tips that I’ve included.
The most important tip is really to remember to be kind to yourself. It’s never easy to learn something new. So, don’t expect to be making professional-looking jewelry the first time you try this. All these skills will improve with practice. You can use odd scraps of wire and old beads to practice the techniques. Then, when you feel confident, get out your special beads and start work on something you want to create.
The most important thing is for you to have fun!
In the video, I mentioned some additional resources for learning how to crimp beads. So, if you use this link, you can download a free tutorial that shows you how to crimp, in detail.
If this has been helpful, then don’t forget to join my mailing list. You’ll get a monthly newsletter with more great blogs, tips and tricks. Plus a welcome gift when you sign up. So, click here to join now.






Thank you so much for this amazing article that you have shared with us, indeed it’s an amazing tutorial on how to string necklace will surely help us in coming time.
You are very welcome! I’m happy to be able to help.
some tips very nice
Thank you!
This is a really awesome and helpful article for me. I really appreciate your work for providing such useful information, thank you so much!
You’re welcome! I’m glad it has helped you 🙂
I’ve done beading in the past “by the seat of my pants”, with very little direction. This video has been a tremendous help and I’m looking forward to using the information in the future.
Thank you! I’m glad this has helped.
This is a great tutorial! I’m going to try it out!
Great! I hope you enjoy it, and thank you for your kind words!