How to draw beading diagrams
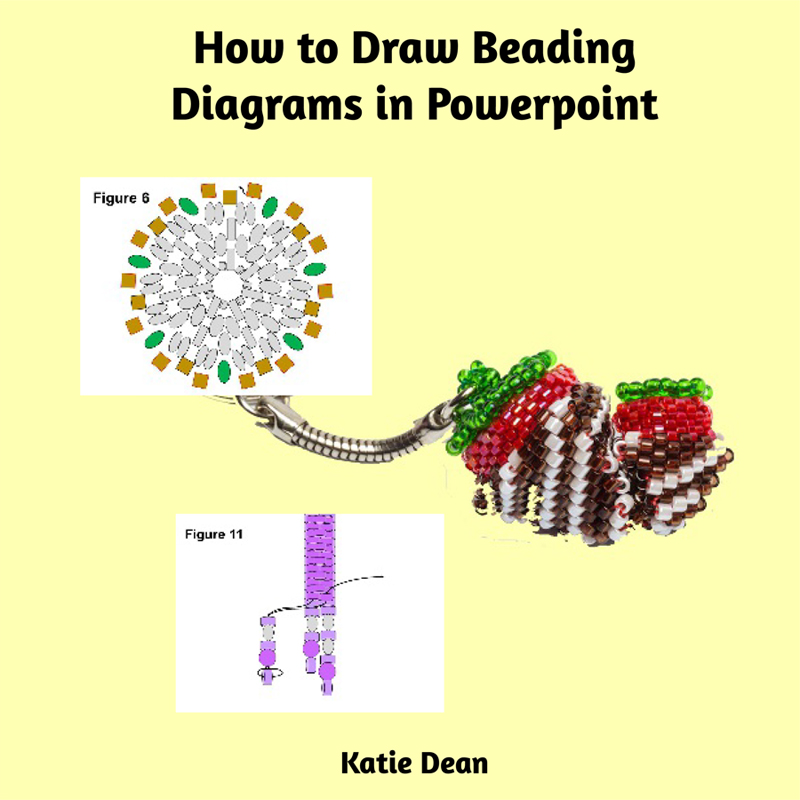
Do you need to learn how to draw beading diagrams? Then, I’ve got the perfect solution for you, right here. If you don’t want to hang around reading an article, then you can use this link to find out about (and buy) my book which will teach you how to draw beading diagrams using Powerpoint.
Why Powerpoint? Well, it’s something that a lot of people have on their computers anyway. So, if that’s the case, the software is free. Even if you don’t have it, it isn’t that expensive to buy. And it’s very easy to use, without needing to spend hours training. I’ll cover all of that later on, though. But, that’s the quick version to help you out.
For now, if you’re sticking around, let’s consider why you need diagrams and what you need to think about as you use them.
Do you need beading diagrams?
Before you get bogged down in learning how to draw beading diagrams, ask yourself this: do you really need them?
In an earlier post, I explained what you need to include when you write a beading pattern. If you haven’t read it yet, then this link will take you straight there.
Within that, I explained that you are basically trying to give your potential readers all the information they need to make the object you have made. Now, there are two things you need to be aware of:
- everyone learns differently. So, some people learn better from written descriptions. Others need pictures to follow
- some elements of beading are easier to explain in words, and some need pictures
The reason this matters is that, you will almost certainly need to include some form of image in a beading pattern or tutorial. (The only exception that I can think of is a Peyote or loom project to make an image. In this case, just a word chart will do.)
So, that brings us back to our original question. Do you need beading diagrams? Well, sometimes yes, sometimes no. As I’ve just said, you will always need some form of imagery, but could this be a photograph?
I’ve seen plenty of designers who write all their tutorials just using step-by-step photographs, no diagrams. So, would this work for you?

Click here to get a copy of the book and learn how to draw professional diagrams, very easily
Diagrams versus Photos
To my mind, there is no conclusive answer as to whether photos or diagrams are better. I think it depends what you’re trying to show.
Pros and Cons of Diagrams
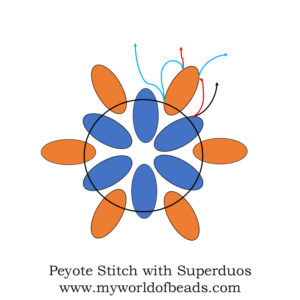
A well-drawn diagram can show you a thread path and the bead layout. This is perfect for flat work. It is also brilliant for teaching basic techniques where the thread paths really matter.
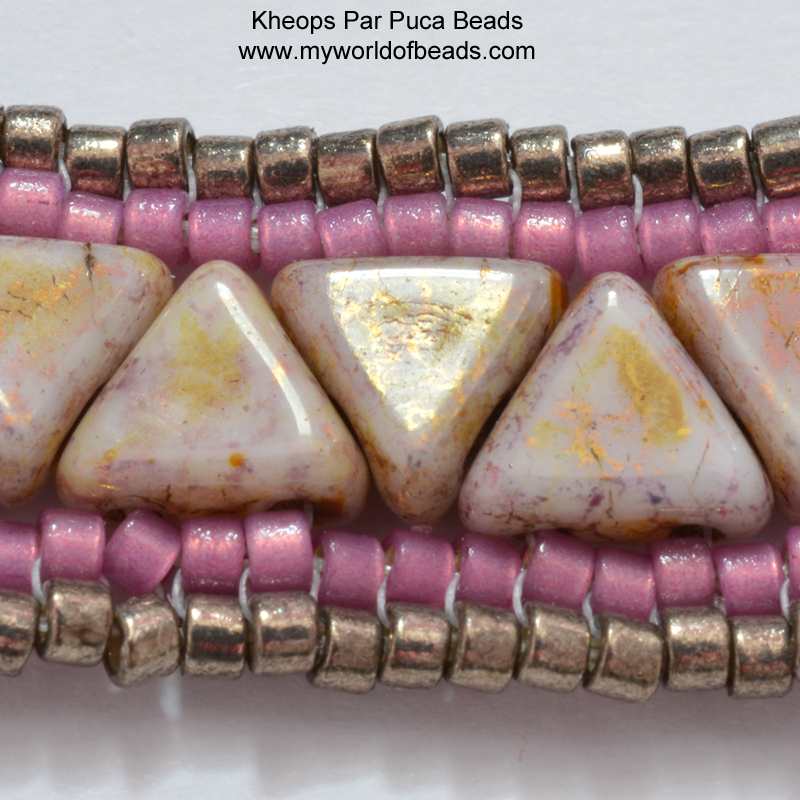
But, it can’t really show you what the beads actually look like. So, if you are dealing with more complex structures, or 3D work, then diagrams may not be the best option. You may find that a photo is better at showing how the beadwork should look. You can even give an indication of the thread path if you stage your photo carefully. So, I frequently photograph with me holding the work and showing the needle passing through a bead(s). That can give a really clear indication of what needs to be happening.
Pros and Cons of Photos
The problem with photos has a lot to do with the camera and the skills of the person taking the photo.
So, if you get the angle wrong, you can end up with something completely unhelpful. And it’s very easy to do. When you’re photographing your own work, you know what you did, so it’s hard to see it through the eyes of a stranger (your potential beader).
The second issue is in the quality of the photos. Beads are tiny. They also reflect light and are tricky to photograph. So, it’s easy to end up with images that are out of focus, or where the light is reflecting off the beads and you can’t see what’s going on.
Through much trial and error, I’ve learned to think carefully about what beads I use if I want to take step-by-step photos. Basically, using white beads, or highly reflective or shiny beads, is going to present a photographic nightmare.
You may also want to ‘stage’ photos so that you use a contrasting colour to indicate the part of the project you are trying to explain. But that means, you’re not just going to be photographing your work as you create. You’re going to have to make at least two sets of samples. The first to just make the project, the second to take the photos.
This is fine for a small project. But for something large, do you really want to make it all several times over? Suddenly, drawing diagrams can look a lot more appealing.
How to draw beading diagrams
So, you’ve considered whether you need photos or diagrams. If you feel you need photos, then this post will give you some helpful advice for photographing beadwork.
Let’s say you’ve decided you need diagrams. I’m afraid that the days of hand-drawn beading diagrams are pretty much gone. Most designers are so used to using the computer that they wouldn’t even think about drawing something by hand these days.
But do you need expensive design software?
Well, you absolutely can invest in something like Adobe InDesign. That will allow you to draw amazing diagrams – the sort you see in magazines – with 3D effects, thread paths and so on.
But, like any professional software, it doesn’t come cheap. It will also require you to learn a whole new set of skills to use it. If you are planning on doing this for a living, then this is certainly an option you should investigate. (By the way, that’s not the only software out there – so you should probably scout around to see what is best for you).

Click here to get your copy of this book
My Solution
When I started writing tutorials, I simply didn’t have the funds to purchase software like that. But I did have Powerpoint on my computer. I also had a lot of experience in using Powerpoint to write presentations in my old job. So, I quickly realised it would be very easy to use that to create beading diagrams.
In fact, it has proved so easy, and so flexible, that I’ve never been tempted to invest in any other drawing software.
So, that’s why I wrote my book. It occurred to me that other people would benefit from having those skills too. Basically, the book will teach you how to draw beads. You’ll learn how to set up thread paths. And I’ve also covered a lot of shortcuts and ‘hacks’ to make it quick and easy to layout everything to illustrate your techniques.
So, if you’re looking for a low-cost, simple way to draw professional-looking beading diagrams, then I would highly recommend this.
In my own tutorials, I tend to use a mixture of diagrams and photos. So, for each step, I consider which medium will convey the technique most clearly. Sometimes, I even use both for one step. So, the diagram will show the thread path, but the photo shows how it looks in the actual beads.
Combine that with strong written explanations, and you should have a tutorial that anyone can follow.
Over to you…
Remember, if you want more helpful articles, covering all aspects of beading, designing, and selling your work, consider joining my mailing list. You’ll get an email once a month, packed full of brilliantly helpful articles about beading. You also get a free welcome gift when you sign up. Sound good…? Then click here to find out more.


Hello Katie,
I ADORE your website, your style and your wonderful, helpful advice! I just can’t thank you enough! I also began beading during a time of intense stress – when my eldest daughter was in a terrible marriage situation. I word at a public library in Greeley, Colorado (USA) and teach beading classes. It’s AWESOME because I can share a hobby that is so wonderful in reducing stress. I call my program Bead Therapy Thursdays. Now with Covid I’m working on take-home bead kits (paid for by library), paper instructions and a youtube video, which I’ve never done! Your advice has been invaluable. And I can’t wait to buy your book about drawing bead diagrams in PowerPoint as that’s what I use.
Will my credit card work with British pounds vs. dollars? I’m not sure how to proceed. PS Your photography advice was also wonderful!!
Hi Kate,
Thank you so much for your very kind words – I’m so glad I’ve been able to help. Your beading story is lovely and it’s a wonderful project you’re doing at the moment. I completely agree – beading is great therapy, and we all need plenty of that right now!
To answer your question, yes your credit card will work with British pounds, but you can also purchase this book from the US, using this link: https://www.blurb.com/b/7326831-how-to-draw-beading-diagrams-in-powerpoint
So, I hope that helps. Look after yourself and happy beading!
Hi Katie,
I’m interesting in purchasing your book, How to draw beading diagrams in PowerPoint.
Could you let me know if the book includes information on how to create the graphics for crystals, firepolish beads, stones and two-hole beads or would the book focus predominantly on seed bead pattern graphics?
Additionally, as I live in India, I was wondering if a digital copy is available to purchase as there are sometimes issues with international shipping and customs.
I look forward to hearing from you.
Thank you!
Warm regards,
Nithya
Thank you, Nithya. The book is not available in digital format at present. The information it provides will enable you to create diagrams using any type of bead. So, I hope that helps!
Thanks so much for your prompt reply.
I look forward to purchasing and reading your book!
I greatly appreciate all the advice your website contains on writing tutorials, publishing patterns and selling jewelry as it is particularly helpful to someone such as me who is just beginning to venture into this area of the beading world! Your website is a treasure trove of info!
Thank you!
Best wishes,
Nithya