
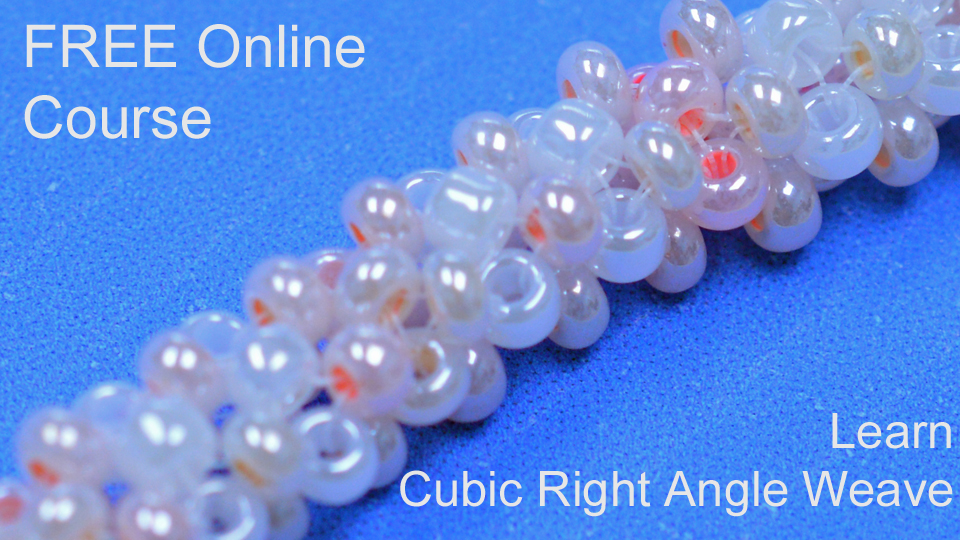
How to do Cubic Right Angle Weave
If you’ve arrived here, you’re probably wondering how to do Cubic Right Angle Weave. Well, in my other posts in this Learn RAW section, I’ve given you instructions within the post. Here, I want to link direct to a free online course which demonstrates the technique on video. So, here is the link! What I want to do now is give you a few tips…

Do you need to know RAW before you learn how to do Cubic Right Angle Weave?
That’s usually the first question people ask. Or, in some cases, the assumption they make. That you need to have mastered basic Right Angle Weave before you can try CRAW.
Well, the truth is, CRAW actually has a very distinctive thread path all of its own. Yes, it is linked to Right Angle Weave, but I think it’s actually less confusing.
With basic RAW, you are moving in circles, but constantly changing direction. So, you build one unit clockwise, the next unit anti-clockwise, etc. It’s no wonder this confuses a lot of beginners. (If you want more detail, use this blog)
Now, with CRAW, you are still adding circular units, but every circle is worked in the same direction. So, you can choose whether that’s clockwise or anti-clockwise (just go with whichever feels most comfortable to you). And, I believe, this creates a much more logical progression.
So, the answer to that question is ‘no’. You can try CRAW without knowing any basic RAW. Plus, if you’ve struggled with RAW in the past, it doesn’t matter. CRAW is so different that you may find it easier. So, don’t be put off trying CRAW because you can’t master RAW!
Click here to access the FREE CRAW course
Tips for CRAW
One of the really helpful things is that CRAW, like basic RAW, works with any beads. So, you don’t have to go for those really expensive precision beads to get good results. (You may find them easier as they sit more neatly, so might make the thread paths easier to see at first).
Tension is also more forgiving. You do need to make sure you can see each side of your cube clearly. But, you can use the same RAW tension tips to help you out. (Check them out in this blog).
My biggest tip is to try and make sure you understand the concept. You are building a cube. So, each new set of beads adds a new face to your cube. If you can ‘get’ that, then it will make life a lot easier as you progress from beginner to more advanced level. The technique itself doesn’t change as you become more advanced. But you may find you need to adapt the order of your thread path. So, you would need to understand what beads need to sit where, in order to do this.
As a beginner, you can simply follow the motions. But keep in mind the over-all structure and you’ll see how you can play with this as you advance.
Now, I’ve explained all of that in the free course. So, just pop on over, using this link, to get started. You get lifetime access to the material. So, you can revisit this any time you need a reminder in future. Plus, I’ve linked to some patterns to get you started.


Katie,
Thank you so much. You are providing us with such a great resource. All in one place! So very helpful.
You’re welcome, Fran! I’m glad you’re finding this helpful. Please make sure to share it with other beaders to help them too 🙂