
Essential Polymer Clay Tools and Materials to Begin
In this next blog, Maive Ferrando is going to be introducing you to the essential polymer clay tools and materials. This is a great post to read if you’re thinking about getting started. Hopefully Maive’s last blog has whetted your appetite. So, have a read through here and see what you’ll need to begin.

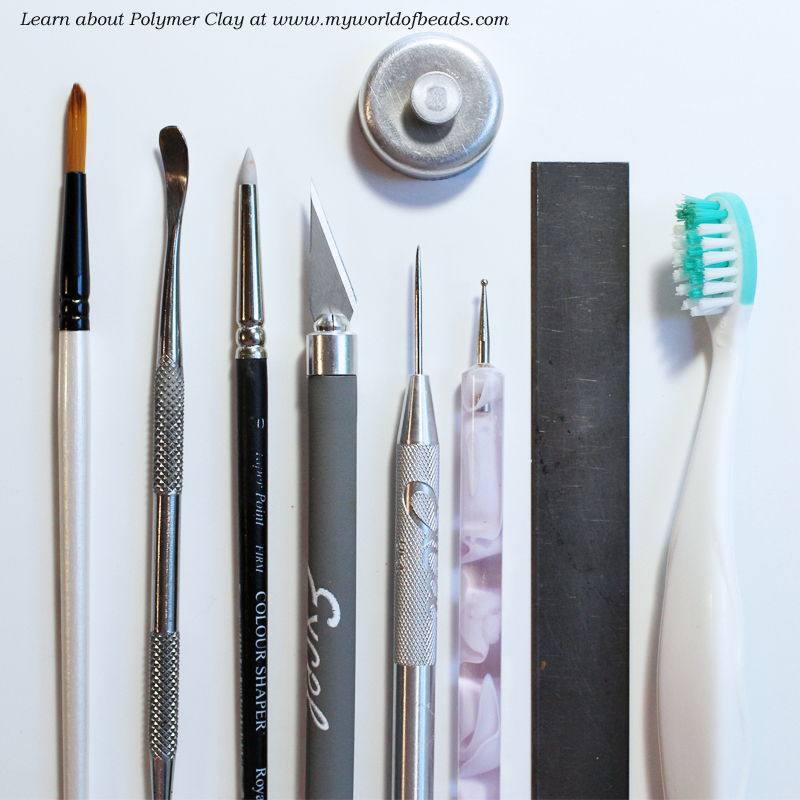
Essential Polymer Clay Tools
I will recommend the tools that I genuinely like and work with the most. However, I always like to encourage everyone to try different things as what works for me may not work for you. I’ve labelled these as ‘essential Polymer Clay tools’, but as with any craft, start with what you can afford and build as your skills grow.
Work surface
I always recommend a smooth tile or glass worktop. Keep some smaller tiles or ceramic coasters (or any other suitable oven proof dish) to sculpt and bake your pieces on.
Blades
These will allow you to cut the clay in straight lines and lift it from your worktop.
Craft Knife
This is indispensable for cutting delicate pieces and fine details.
Cutters
What you need here will depend on your plans. So, if you’re planning to make lots of mini cakes for example, I recommend investing in round cutters. Cutters also help you obtain equal amounts of clay when needed to make beads in even sizes.
Dotting Tools
Easily found in the nail art supplies department, you can also use these as a mini rolling pin. Bigger sized ones are more commonly known as embossing or ball tools. You can find them in the cake decorating section of hobby shops.
Acrylic Rolling Pin
Not among the absolutely essential Polymer Clay tools as you can easily use other things as a rolling pin. (Maybe even try a marker!). However, an acrylic rolling pin is great as it doesn’t really stick to polymer clay and is super easy to keep clean.
Paint Brushes
You’ll need these to paint your baked polymer clay, to apply soft pastels and to glaze your finished pieces.
Needle
Start with a safety pin (I used one for years before I got a needle tool with a handle). You can collect them in different sizes so that you have a variety to suit different projects.
Silicone sculpting tools
These are some of my favourite tools to use because they are soft on the clay and leave no harsh marks. So, that makes them ideal for blending pieces of clay together.
Metal Sculpting/Carving Tools
I use these both for sculpting and for mixing solid and liquid clay to make frosting.
Pasta machine/Clay conditioning machine
An ideal tool for those who intend to become more serious about polymer clay, as it does all the hard work for you. It also allows you to obtain even sheets or effects like the Skinner blend.
Toothbrush
Great for creating texture on the clay.
Toothpick
I use this for many different things: to sculpt, as a base and even to texture the clay.
Tin foil
This is another versatile tool that I like to use as a texturing tool. For example, it makes a great base for ice-cream cones. It’s also really handy as a skeleton base for creating sculptures.
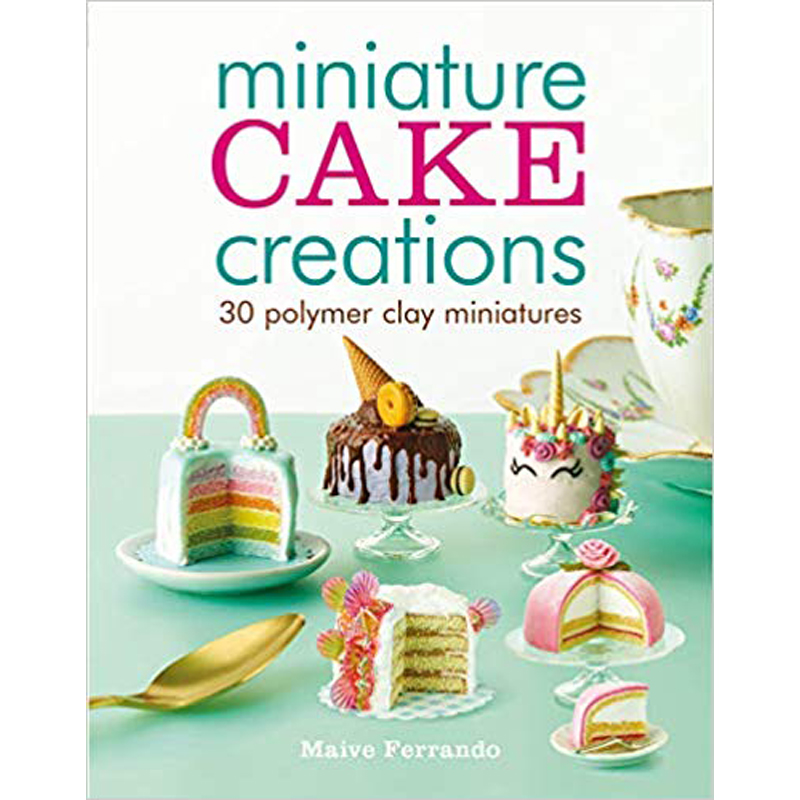
Click here to buy the book now
These are just some of the main tools I use. This collection is more than enough to get anyone started! Remember, you don’t have to spend loads of money: have a look around the house for anything you think might work. You will be surprised! Crochet hooks and empty pen handles might turn into great sculpting tools. These makeshift tools are some of my favourites, as they can ignite your creativity and make you use an object in a way you never thought of before.
Polymer Clay and other Materials
Now you’ve got your tools sorted out, I’ll take a look at my favourite materials. Again, you might not need all of these. It really depends on what you are planning to make…
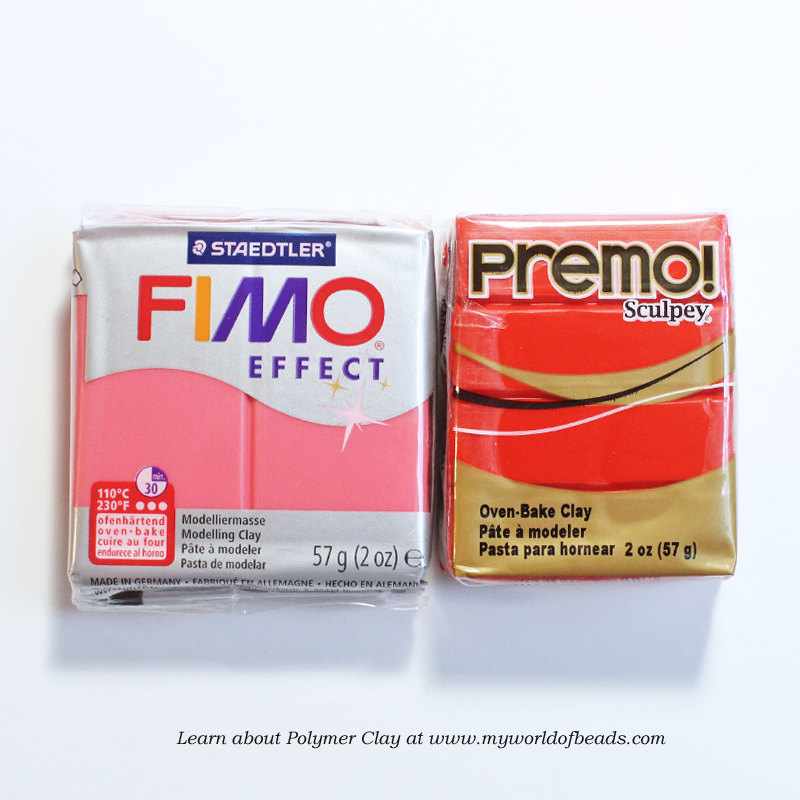
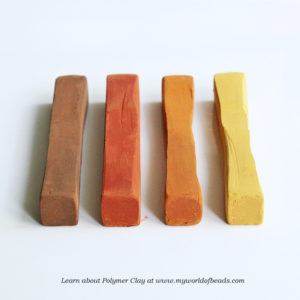
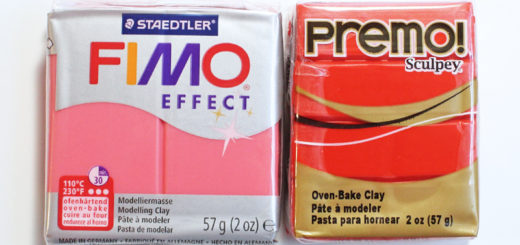
Polymer Clay
Get blocks of clay in colours you intend to use. Plan some projects like a chocolate cake and go from there. There’s also the choice of starter kits if you’re really undecided.
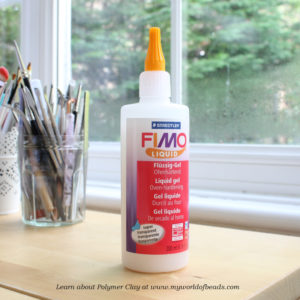
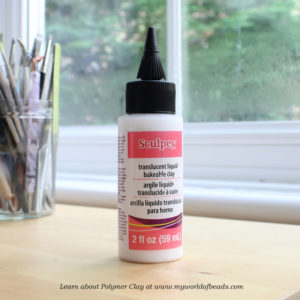
Liquid Polymer Clay
You can use this as a bonding agent or a softener. I use FIMO Liquid a lot and I use it both as glue and mixed with solid polymer clay to make frosting for miniature cakes. Sculpey has a wide range of liquid clay in different colours and effects.
Soft Pastels
You can use these on unbaked polymer clay to give shade. For example, I use these on vanilla cupcakes or buns to make them look baked. You can also use them on baked clay, mixed with a little water. Or try picking it up with a damp brush or mixed with liquid clay to make sauces for example.
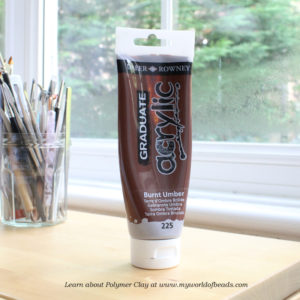
Acrylic Paint
You’ll need these to paint your baked pieces. If you don’t know what colours you’ll need, you could get them in primary colours (red, blue, yellow, plus white and black). Then, you can mix those to obtain any shade you need.
Oil Paints
These are great for mixing with liquid polymer clay or for kneading into solid polymer clay to obtain different colours. They are not suitable however to paint polymer clay. You need water based paints to paint polymer clay once it has been baked.
Varnishes
I’d recommend getting varnishes specifically designed for polymer clay. FIMO and Sculpey have their own brands. You can get them in different finishes. Whichever brand of varnish you use, make sure it is water based. Don’t be tempted to use clear nail polish as it will react with polymer clay in the long run and will eat at it.
As you get more confident working with polymer clay and you start venturing into different areas, you will find many other materials that you can use in conjunction with those you already have. As a general rule, if you are not sure whether a product is compatible with polymer clay, experiment on a piece you don’t mind ruining. You can also seek advice in a polymer clay forum/blog. Or, as a last resort, contact the manufacturer for more information.
Now you’ve got everything ready, we’ll take a look at what to do with it, next! If you can’t wait until then, check out Maive’s fabulous tutorials on YouTube.


I. Picked up a bottle of clear polyclay. Not. Sure what to do with it. I thought I read you use it to stick other pieces of clay on top pf other clay. Do I need to use a glaze befor or after I bake the clay
I’m not a polymer expert, Denise – these blogs were written by a guest, Maeve Ferando. So, you would be best to follow the links to her website and contact her for proper advice. But I think you’re right that the clear polyclay is for joining elements. And I’m fairly sure that you would use the glaze AFTER baking, not before. It probably tells you more about that in the other posts on this section, so have a read through everything in ‘Learn Polymer Clay’, and if you’ve still got questions, get in touch with Maeve.
Great post! Clay tools are the unsung heroes that sculptors and artists rely on to transform their visions into tangible masterpieces. Your blog beautifully highlights the significance of these tools in the creative process. They’re not just instruments; they’re extensions of the artist’s hands, shaping raw clay into expressions of artistry. Have you seen these models https://www.montmarte.com.au/collections/clay-tools ?
Thanks for sharing this, Holly!