
Starting Bead Embroidery Projects
So, if you’ve been following through this section on bead embroidery, you’ve gathered your materials. Which means you’re probably wondering about starting bead embroidery projects. What do you need to plan? How do you get prepared? Are you going to be following a pattern, or making it up as you go along?

Well, you have options. So, yes, you can just grab your stiff stuff and your beads and start free-forming. See where things take you. But as a beginner, you might prefer to follow some kind of pattern. I’ll give you a few links as we go along. But let me explain how to get set up.
Starting bead embroidery – your pattern
You are best off starting with a pattern guide to help structure your work. If you are planning to cover a metal form with embroidery, or wanting to make a bracelet or necklace to a particular size, then you will certainly need the pattern to guide you.
You can draw the pattern onto your backing using a pen. If you are concerned about it showing through the beads at the end, then feel free to use a ‘magic marker’ fabric pen that can be washed off. However, your beads should be added densely enough that the markings are covered. So, I prefer to use a normal biro or ballpoint pen as I find the fabric markers can actually rub off while I am working. And this is not helpful!
As an aside, I have even found that my inkjet printer will print onto Lacey’s stiff stuff. So, I’ve been able to draw a pattern on my computer, then print it direct onto the backing.

Click here to get the tutorial for this bangle
Creating a Pattern from Scratch
If you are very creative and want to really ‘draw’ with your beads, then start by creating your pattern from scratch.
Begin by marking out the area that needs to be covered. Then draw on key points. This could be something like lines to divide the area into smaller sections. Or, circles to indicate the placement of a large bead. You don’t have to detail absolutely everything, but laying out areas for beading is key to starting bead embroidery projects.
It does not have to be complicated, but you should think about design principles. So, consider how to guide the eye around the piece by giving it a sense of movement, colouring and texture.
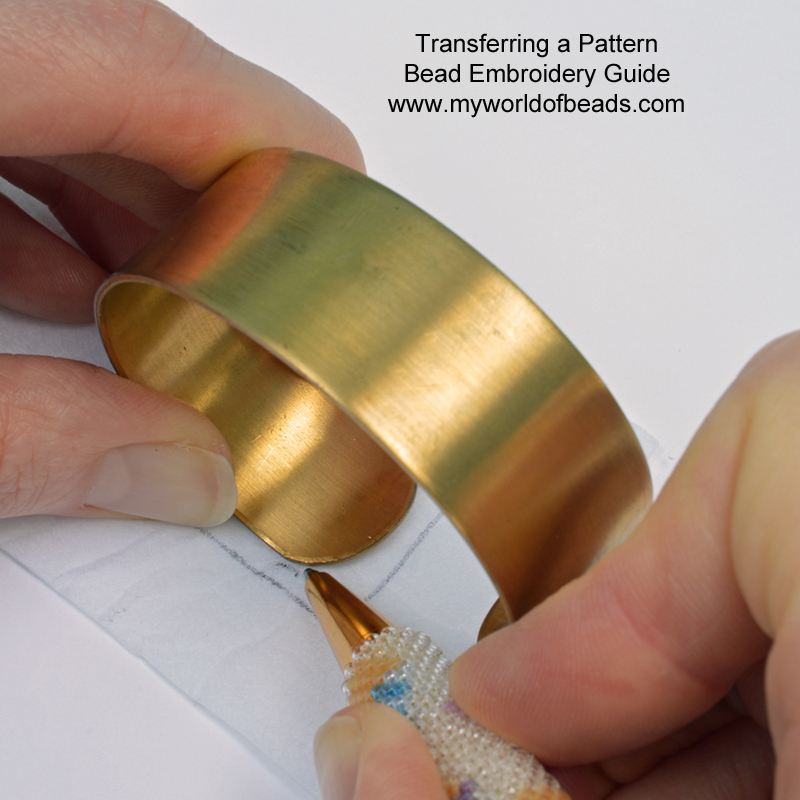
Transferring a Pattern
If you are starting out, you may find it easier to transfer a pattern. There are a couple of ways of doing this. You can sketch out a pattern on paper (make sure you use a dark black ink). Then trace through the Stiff Stuff to transfer it onto your backing.
Outlining your beading area
If you are making a piece of embroidery to fit a cuff or necklet, then you will need to create a template that is exactly the right size. For a cuff, this is simple. You can just measure the length and height of the cuff and draw a rectangle to that size. If the cuff blank has shaped corners, then make sure you transfer that shaping onto the Stiff stuff.
If you are working with a necklet, then you will find that this has been shaped into a curve. So, it is not so simple to just draw out. I found the best technique was to start by blu-tacking a piece of paper onto the necklet. Then, carefully draw around the outside edge of the necklet. Remove the paper and you carefully cut out the paper pattern. Check that it really does fit your frame well. Then, when you are happy, you can just draw around this template onto the Stiff Stuff.


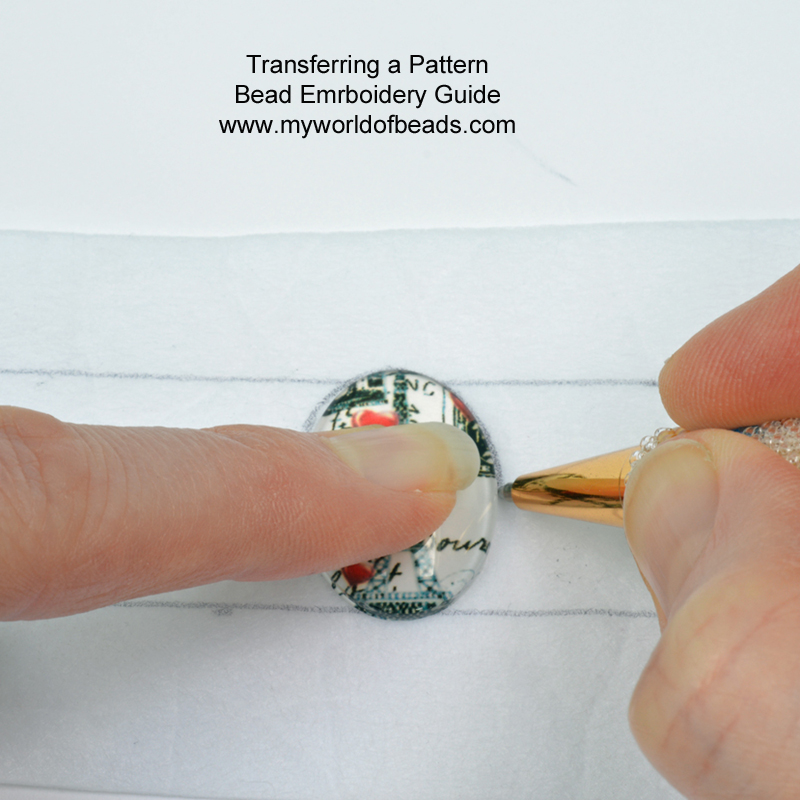
Adding a beading guide
Once you have created your basic outline, you can add details, as I suggested before. Draw lines to mark out areas. If you are adding in a Cabochon or large bead, then place that in position on the pattern piece and draw around it so you get it in just the right place.
It may be tempting to ‘eyeball’ your placement. But you will quickly find that if you get things out of alignment or just slightly off centre, the mistake will be magnified when you come to stitch all the beads in place. This is where your tape measure comes in handy.
You are going to see this message throughout this technique guide: accuracy is key. It makes the difference between a professional and an amateur-looking piece. It takes more time, but is worth the effort in the long run. So, make sure you really take time to lay things out when you are starting bead embroidery projects.
Most important: once the pattern is drawn on the backing material, DO NOT cut it out. You are going to add the beads before you trim. If your pattern is a lot smaller than the backing, then feel free to trim the backing slightly to make it more manageable, but do not attempt to cut around the pattern line… Unless you have been told to do so.
As you start working
Once you’ve prepared your pattern, you are ready to being working. In the next post, I’ll be teaching you a lot of basic techniques. But before you start on that, you’re going to need to know how to start and finish your thread. Unless you’re making a tiny piece, you will certainly need to change thread in the middle. So, let’s look at how that works.
Starting a new thread
There are different ways of doing this. I always work with a double thread. So I cut an arm-span, thread the needle and slide it to the centre of the thread, then fold the thread in half so my two ends are meeting. I then tie a double knot in the two ends. I usually find this is sufficient to hold the thread secure at the beginning. Decide where you are going to start and pass up through the backing (from wrong side to right side). Then, the knot will anchor the thread on the wrong side and you are ready to start adding beads.
The problem with a double thread is that it can tangle. Also, if you decide you want to remove some beads, you can’t unthread the needle and unpick as I would recommend. (Although you should be able to carefully ease the needle back, ‘wrong’ end first, through the hole you made in the backing, if you need to). The advantage of a double thread is that it creates a secure fixing with just one pass through each bead.
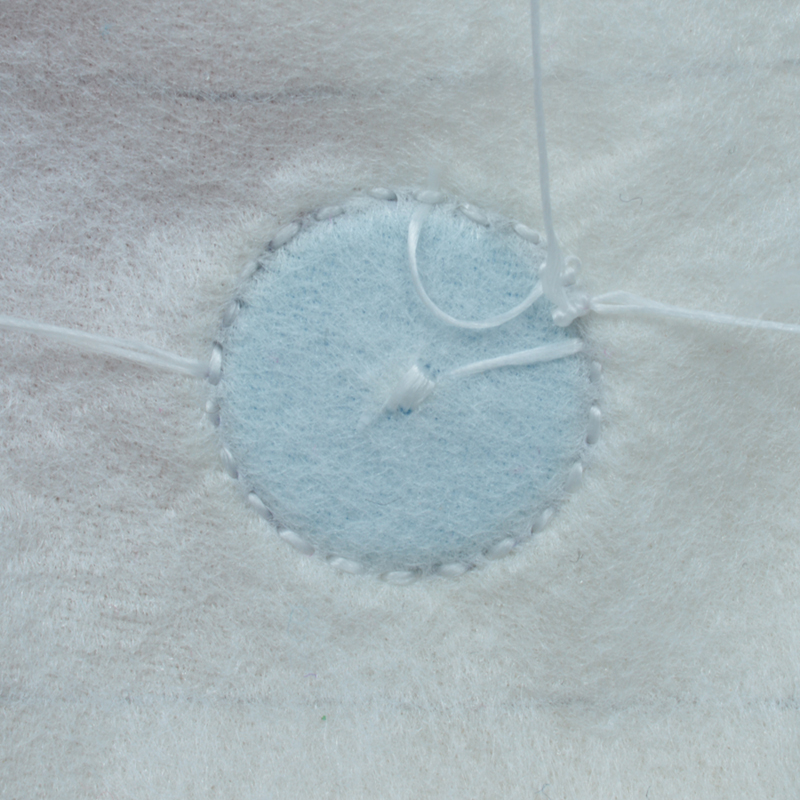
If you choose to use a single thread, then start by simply over-sewing on the wrong side of the backing. Do this in an area that is going to be covered by beads, so it shouldn’t show. You should also be able to pass through just part of the backing, so the over-sewn bit is not visible on the right side. In the photo you can see the knot that started my thread (right) and the over-sewn section hidden under the bead on the wrong side (centre).
Finishing your thread
Finishing the thread is the same for both single and double. When your thread is starting to feel too short to use comfortably, pass it through to the wrong side and over-sew 3-4 times in the same spot to secure the thread (if you are used to sewing, this will seem familiar to you). Again, try and make sure you pick a spot that is covered by beads so the stitches do not show on the right side. Trim the thread close to the backing and that’s it.
When you are edging your design at the end, you can use the same methods to start and finish threads. But as you start, take your needle through the edge of the backing, so that is sits between the backing and the ultrasuede. (This will make more sense when you have read the guide to finishing projects). That way, the knot will sit between the two fabrics, out of sight.
When you finish, you should be able to carefully over-sew between beads in a densely beaded area on the design, so the stitches will not show. Remember that your Ultrasuede is still a part of the finish, so do not treat it like the ‘wrong side’ of the fabric. It is going to be visible on the finished piece, even if that is not while the piece is being worn.
Now you’ve learned about starting bead embroidery projects, you’re ready to learn some bead embroidery techniques.


