
Memory Wire
Memory wire is a specialist stringing m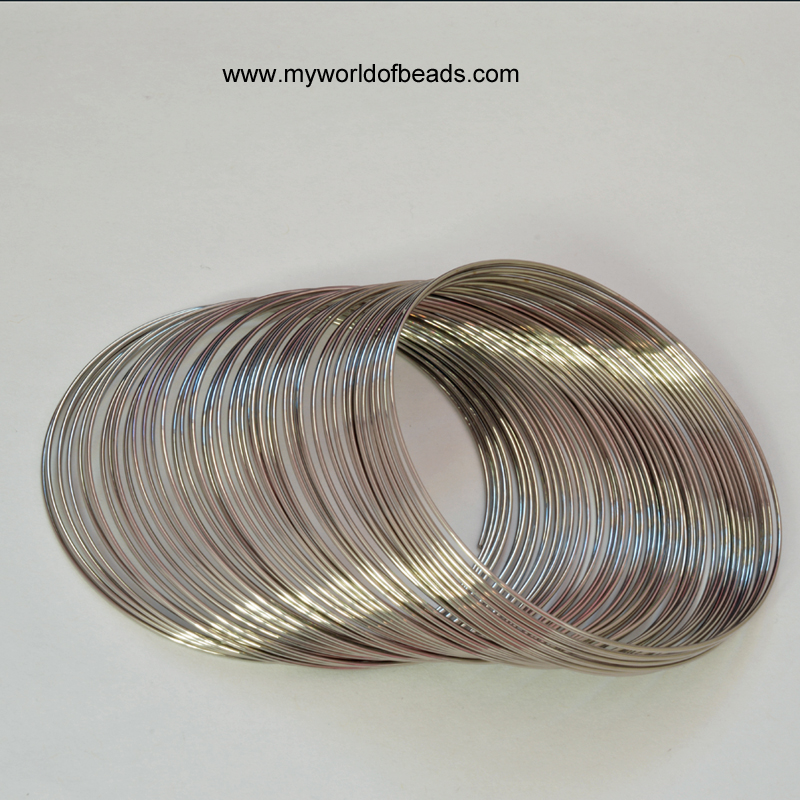 aterial designed for making jewelry. The wire is very stiff and shaped so that it holds a natural coil shape. You can buy individual lengths of the wire, suitable for a single piece of jewelry, but it is also sold in longer coils from which you can cut the length you need. The special feature of memory wire is, as it’s name suggest, that it ‘remembers’ the shape in which it was manufactured. So the coils in which you can buy it are all set at different sizes: you can buy necklace (choker length), bracelet or ring sized memory wire. You may also be able to find a choice of ‘small’ or ‘large’ in each variety as well.

Using Memory Wire
Memory wire allows you to make very quick jewelry projects. You can stick with  something simple, like a basic single string of beads on a single length of memory wire, or use multiple strands of wire to create more complex designs. You will need to start by cutting the length of wire you require. The strength of memory wire makes it incredibly difficult to cut with ordinary wire cutters, so you should use the special memory wire cutters for this type of project. If you want to create a single length of beading on memory wire, then you should cut a length of wire that is longer than a single circle. You will not need to use a clasp to fasten memory wire jewelry, but this means you need to remember to allow enough overlap for the memory wire to stay in place as it is being worn. I usually cut about one and half circles for each strand on my jewelry.
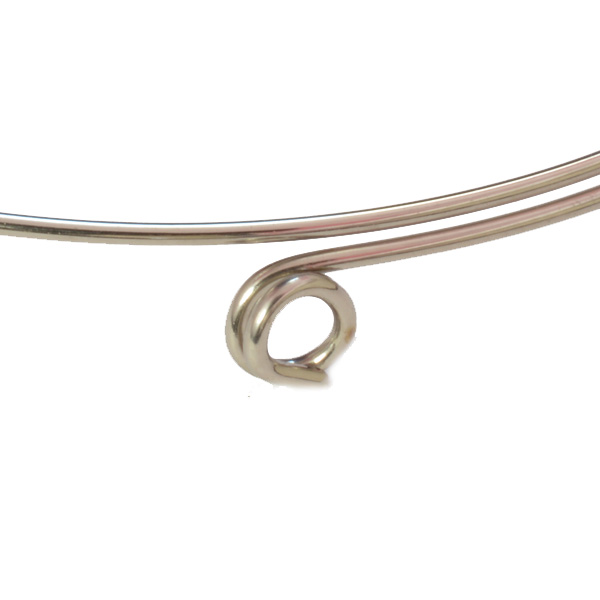 Once you have cut the length you need, you should seal one end of your memory wire to prevent beads from falling off. You can buy memory wire end caps which look a little like tiny metal beads. These are sized to fit over the end of memory wire and can be glued in place using jewelry glue. I always worry that end caps will fall off over time, so I prefer to coil my ends. Use a pair of round nose pliers and force the end of the memory wire into a double coil. Then just thread on the beads you want. Leave about an inch at the other end of the bracelet and use your pliers to coil this end to hold the beads in place. You can make these coiled ends look more attractive by adding a bead on a wire loop, a little like a charm.
Project Ideas
As I said above, the simplest memory wire jewelry can be made by stringing beads onto a single strand of memory wire, as I did when I made this liquorice allsorts bracelet. I used beaded beads for this project, but it will work just as well with shop-bought beads.
You can also use spacer bars or spacer beads to make jewelry using several strands of memory wire. The number of strands you use in this type of project is typically dictated  by the number of holes in your spacer bar. This can vary according to what you choose – just think carefully about the width of the finished project and who will be wearing it. If you want to have a go at a multiple strand memory wire project, you can find one in the ‘Focus on Making Jewellery’ edition of My World of Beads brochure. This can be ordered below.


