
Kumihimo Projects: Inspiration for you
I thought I would finish up by showing you some of the Kumihimo projects that I made when I first started out. I’m hoping this may give you a few ideas to try.

First experiments
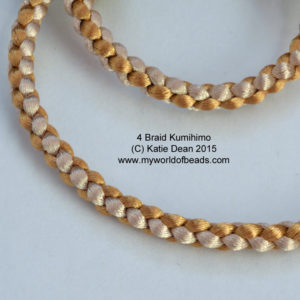
I first began by trying out the different basic braids. So, I started with a simple 8 braid rope. When I had managed to master that, I had a go at the 16 braid. I also had a go at the four braid rope.
These are all lovely braids to try. They have a fairly simple pattern, so I found it easy to get into a rhythm. I soon discovered that there is something very soothing about Kumihimo projects!

At this stage, it was all about discovery. So, I was trying to understand how the colouring worked. How could I then use that to create different patterns?
I also wanted to get the feel of the different ropes. What would they be best suited to?
So, I was just using narrow ribbon and cord that I happened to have to hand.
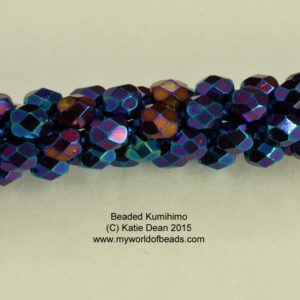
Kumihimo Projects with beads
The next step for me, was to experiment with beads. Now, I recall this took a little more practise. I found it tricky to get the right tension at first. Also to get the beads to sit in place. So, until I mastered that, I had some slightly wonky ropes!
But, like any other skill, practise is all it needed.
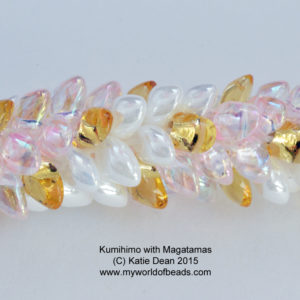
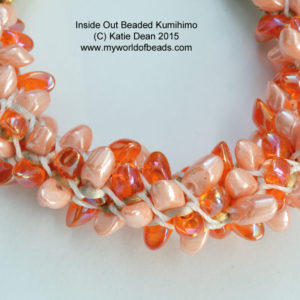
I tried out the braids that I felt most comfortable using. This way, I just had to concentrate on the beads, not on all the manoeuvres as well. And I also experimented with an ‘inside out’ braid. The bead placement in this variation means the cord shows on the outside of the beads. So, it gives a really different effect.
I experimented with different types of beads to see which felt comfortable to use, which I liked and so on.
Innovation
Now, I confess that, in all of this, I became a little obsessed. What else could I try? What should I do next?
Well, I happened to be doing this on a vacation. That meant I didn’t have access to my full bead – and craft – stash. So, that led to some interesting experiments. I was finding that the ribbon I had would only allow me to make short lengths of rope in some cases. I also had limited quantities of beads. So, what was I to do?
Well, this prompted some experiments.
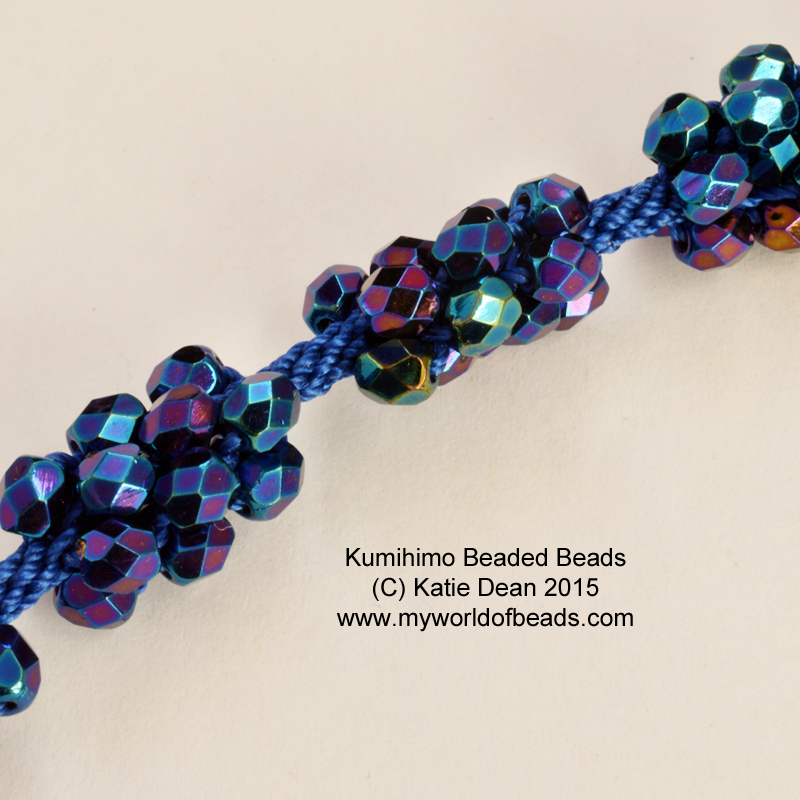
What if I stretched my beads by alternating short lengths of beaded Kumihimo with short lengths of Kumihimo braid? So, I was still creating a beaded rope. I simply braided for a while, then did a few ’rounds’ with beads added in, then returned to braiding without beads. That meant the beads I had strung onto my cord before starting went a lot further. And the effect was like a series of beaded beads on a rope…
I also ran out of end caps and clasps very quickly! So, what could I do?
End cap experiments!
Well, make beaded end caps and clasps of course! Once I had started doing that, I began to look at ways in which I could incorporate that into a design.
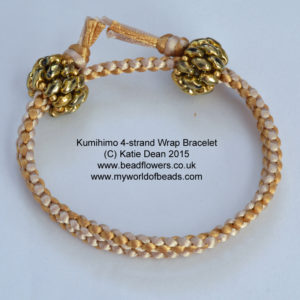
So, in the wraparound bracelet (centre photo, below), I made a little toggle to hold the wraps of Kumihimo together. I designed this to match the end caps and clasp that I had beaded, using Mini Duos and seed beads.


That idea led me on to creating toggles that I could use to fasten and unfasten a wraparound rope (right-hand photo, above). So, in that design, I didn’t need to add a clasp. Then, rather than adding end caps, I just knotted the end of the braid, leaving the individual ribbons to form a tassel that adds some extra interest to the design.
Innovative Necklaces
Now, I mentioned that I soon found myself restricted by the length of ribbon. So, if I didn’t want to end up with endless Kumihimo bracelets, what could I do?
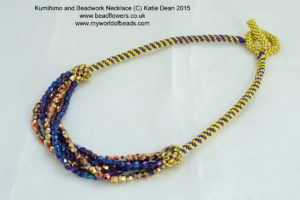
Well, I developed the end cap idea. So, I created this necklace by making two short lengths of corded braid. I then added beaded end caps to either end. This gave me a base from which to string a focal section of beads at the front. That proved a great way to conserve both my braiding and my bead stash!

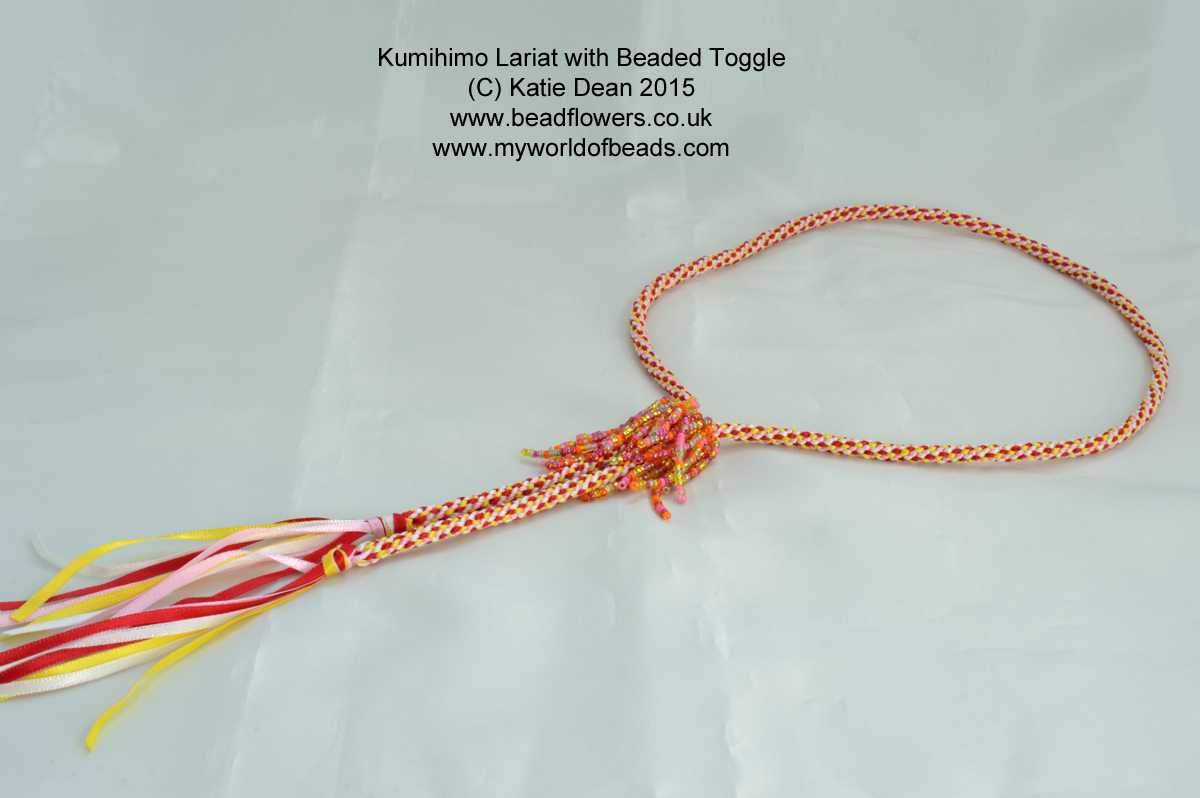
In another sample, I had a little more ribbon to play with. So, I was able to create a longer rope. Again, I decided not to include a clasp on this. Instead, I beaded a toggle which I could use to turn my rope into a lariat. I left the ends of the Kumihimo braid, held in place with a knot. Then, I tried to reflect this tassel effect in the style of toggle.
So, I hope that has inspired you with a few different ideas to try out. As I discovered, you don’t have to know a lot of braids in order to get creative. I took just three basic braids and then let my imagination create some different Kumihimo projects. So, after my two-week vacation, I ended up with a wonderful new collection of jewellery to enjoy!
What’s next…?
If you want to find out how I made my beaded end caps, I have a free tutorial available in this section of the website.
And, if you want to learn more about beading in all its different forms, how about joining my newsletter? You get a free welcome gift when you sign up. Then, I’ll send you an email once a month, packed with helpful articles and ideas to help you become a better beader. If that sounds good, then click here to join now.


