Joining Fireline Beading Thread
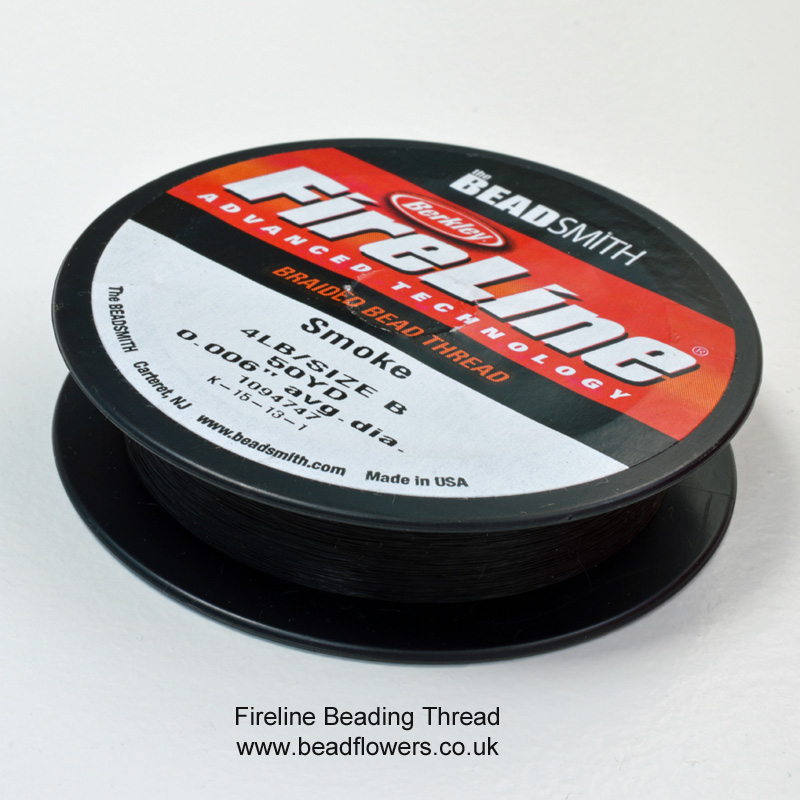
Finishing old threads and weaving in new ones has to be one of the most tedious parts of any beading project. Now, there are loads of different ways you can do this. So, I suggest you experiment to find what works best for you. Here, I wanted to share a brilliant way of joining fireline beading thread. This is one that Patrick Duggan uses and demonstrates on YouTube. So, I’m going to take you through this briefly and then direct you to Patrick’s video. This is something you can learn in less than one minute…literally!
Simple method for joining fireline beading thread
With this technique, you don’t need to stitch in old ends, or start new ones. You are literally joining your next piece of thread onto your last.
So, the technique is to tie a Square Knot with your two ends of thread. Then, use a lighter to melt the ends of thread, creating a little ‘blob’. Pull the knot. Being Fireline, it won’t tighten on itself, but will pull through, bringing your two blobs together. They’ll anchor securely and ‘voila!’, your new length of Fireline is joined to the old.
If you don’t have a lighter, a Thread Zapper works just as well for melting the ends.
Since you’re probably struggling to picture how that works from a description, take a look at Patrick’s video…
 Click here to buy Fireline beading thread
Will this work with other thread?
This technique works with Fireline because it has two particular qualities:
- It doesn’t knot…or, more precisely, if you do get a knot, it will pull out very easily because the thread slides against itself
- If you burn the ends they will ‘fizzle’ into a little ‘blob’
On the other hand, nylon based threads will form knots that tangle and you can’t pull out. They will also just burn away, rather than ‘blobbing’ if you set fire to them.
So, any beading thread that conforms to the first two criteria should be good for using this technique. I can confirm that this will work with DuraThread.
If you’re not sure whether your beading thread will conform, try a little experiment. If you knot it, can you pull the knot through? If you burn it, what happens to the ends?
Obviously, make sure you do this under safe conditions so you don’t cause a fire!
If you want to find out more about beading threads, use this section>>
 Click here to access this online course and learn brilliant bead weaving tips from the very start
Possible problems
Naturally, you might want to tug your thread a little to check that the join you’ve created is really secure. But that isn’t the biggest potential problem with this method of joining Fireline beading thread…
No, actually, the potential issue I’m thinking about is that little ‘blob’. If you’re working with beads that have tiny holes, or if you’re making a lot of thread passes that might fill up holes, then this technique might cause you problems.
Small as your ‘blob’ will be, it can still struggle to pull through tiny spaces. So, if you’re working on a project and find that is an issue, you might want to consider two other methods of joining thread….
The first alternative method
You can simply weave in your old thread when it starts to get too short to use. So, follow the existing thread path of your project, weaving through older rows, or older units, to take your thread away from the last beads you have added.
Then, start a new thread. Still following your existing thread paths, start weaving it in a few rows, or units BEFORE the last beads you added. You can then weave through the last few beads you added, again. So, they will be attached with both old and new thread. You should make sure you have a good overlap, so maybe it’s the last 6 or more beads that have both these threads through them.
My top tip is to add a temporary stop bead to the end of your new thread. That should just sit against your beadwork as you start to weave in. So, you won’t be able to pull the new thread right through and out. Leave that stop bead in place until you have completed at least one row. By that time, your thread should be secure.
So, you can then remove the stop bead and just trim the tails (old and new thread) that are hanging out. All your work should be secure because you have that overlapped section of thread. Plus the old thread woven through beyond that section and the new thread woven in before that section.

Pros and cons
With this method, you’re not actually ‘joining fireline beading thread’ as such. Each thread remains completely separate. So, you will spend a little extra time securing the ends, but it’s not that bad.
This technique will work with any beading thread on any beading project. So, it’s not specific to Fireline.
The second alternative method
…is basically the same principle. But you will knot between beads as you finish your old thread. Then again, as you start the new thread. So, I’ve covered this technique in much greater detail in an earlier blog, here.

Another neat little trick for joining Fireline beading thread…
This is a little trick I use myself and I’ve seen others use it too…
Instead of cutting just one wing-span of thread, cut two, or maybe even three. Now, this is going to be far too long to work with. So, what you do, is thread it through near your start/finish point, but leave half the thread as a tail.
Again, you can place a temporary stop bead at the halfway point to prevent your thread pulling through. Then, remove the stop bead when you’ve secured the new thread enough.
You might also wind your long tail onto a bobbin to stop it catching and tangling as you’re working.
Then, when you finish your working thread, just free up your tail thread, weave through (taking the quickest route) to the point where you finished. And continue with that lovely long tail.
So, hopefully, those methods will take some of the pain out of joining new threads in large beading projects. If you’ve got any other tips, please leave them in the comments below.


I also have one other method for a “blob” knot. When the working tail becomes short, tie a knot in it. Then, with your new thread, make a slip knot on the end of the new thread. I usually use about 6 feet of Fireline. I place the slipknot over the knot on the old thread and tighten. At this point, you will have 2 loose ends. Trim them to about 1 inch or so and touch each one with a hot thread cutter or lighter. Pull the old and new threads until the ends meet and a continuous thread is achieved. I also use a pair of pliers to gently squish the knot. It has been working great for me!
Thanks Betty – that’s a great method 🙂
Hi Katie, I’m fairly new to your blog. You hav a wealth of information crammed in here. Greatly appreciated.
Unfortunately I often am unable to “click” on the link being offered. Some of them open and take me where I want to be…but others do nothing.
Any idea of what could be wrong?
Jacqueline Space
I’m afraid I don’t know – I’m not having any issues myself. Could be an internet browser issue – some browsers are more stable than others.