
How to use jump rings in jewelry making
Have you got questions about how to use jump rings in jewelry making? One of my ‘Become a Better Beader’ members does. So, I’m guessing she’s not the only one!

Now, you can use jump rings in a number of different ways:
- make chain maille jewelry
- attach a clasp
- link rings or other components in jewelry
I’m not going to talk about chain maille jewelry here. That is an entire branch of jewelry-making in its own right. So, it deserves more attention than I can give it in this blog.
The question I was asked was about how to use jump rings for attaching clasps so they don’t fall off. This happens to be a very common problem. Early on in my beading career, I found my jump rings would frequently open up, or just plain fall off. So, how do you stop that happening?
(If you just want to know what jump rings are or how to open and close them, use this link).
Why do jump rings fall off?
If you’re going to solve a problem successfully, the first thing you need to understand is why it happens. So, why might a jump ring be insecure?
- The weight of the jewelry makes the jump ring pull open as time passes
- The thread that is attaching the jump ring pulls out of the ring opening
Usually, if a jump ring falls off, it is because one of those two things has happened.
The solutions for rings pulling open
Happily, I have solutions for both those issues. So, let’s talk about rings pulling open…
The first solution is to use a different kind of ring. So, there will be situations in which a split ring or a closed ring is more appropriate.
The second solution is to solder your jump ring closed. Now, I don’t know about you, but I don’t have ready access to a soldering iron and solder. So, that solution never really appealed to me… Until, I realised I could use some jewelry glue!
Yes, that’s right. Now, this may not be the best fix. I may hear some professional jewelry makers groaning at the very suggestion. But it can work. The things you need to remember are:
- use clear glue that won’t show
- don’t add too much glue, or you’ll end up with an unsightly ‘lump’
- be really careful that you don’t end up spilling glue on the rest of your necklace, bracelet or earrings
So, although this is a potential solution, I’m going to offer some better advice…
How to stop your thread slipping through the jump ring
Now, the majority of my own jewelry-making uses bead-weaving techniques. So, I will be working with thread. When I come to attach a clasp, or an earring finding, I will be stitching it on.
So, what I am about to share will apply to clasps as well as jump rings. You will find some clasps have a ring that opens to attach to your jewelry. This is great if you want to attach it to a chain. But if you want to stitch the clasp on, it’s dangerous.
It is all too easy for the ring to pull open. Even if it remains shut, it will still have the tiniest of slits and thread can work its way through that.
So, after many instances of losing jewelry because the clasp fell off while I was wearing it, I stopped stitching my clasps or jump rings.
Three solutions…
Instead, I have three alternative options that I can use:
- I may use some French wire. This is basically a covering for the thread. It looks more professional and it makes the thread thick enough that it won’t slip through the gap in a ring.
- Or, I might choose to use a calotte. I’m not going to go into detail about what that is here, because I covered it in another blog. So, you can follow this link to find out what a calotte is and how to use it.
- Often, I create a slightly wider beaded chain to string through my jump ring. Now, this would be too wide to fit through the ring on a clasp. But you can use this method to attach the beadwork to a jump ring. Then attach the jump ring to your clasp. All you need to do is bead a narrow strip of Peyote or Herringbone, thread it through the ring and then attach the end back on to your beadwork.
You can see an example of this in the photo below. I made a narrow beaded strand to pass through my jump ring. I then attached the earring finding to the ring and everything remained secure!
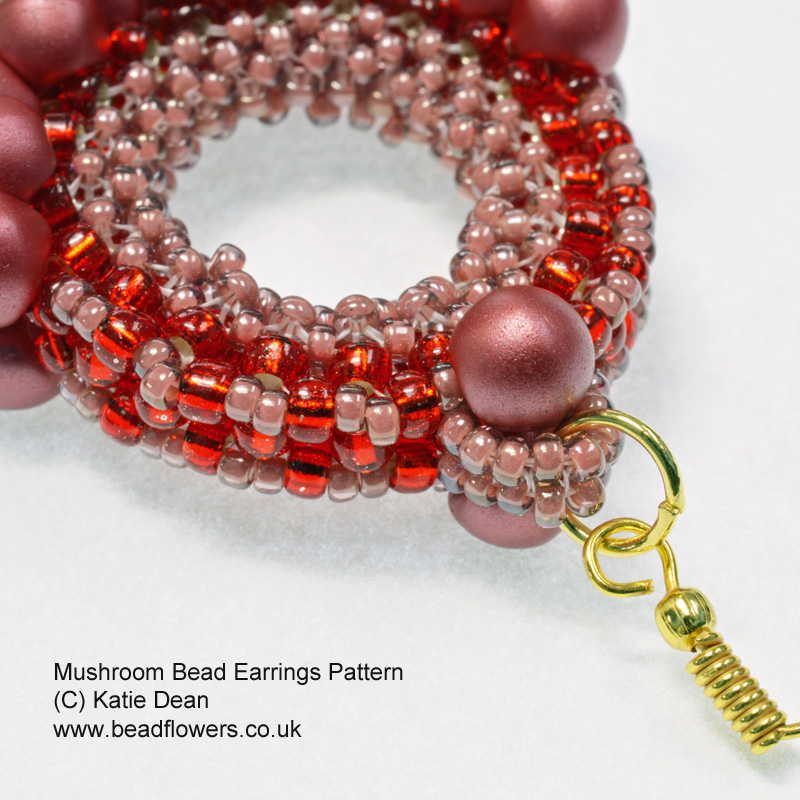 Get this earring pattern here>>
How to use jump rings…or not!
Now I’ve talked about avoiding the issue of thread slipping through the ring, how about the issue of the ring pulling apart?
Well, this is more common than you might think. Sometimes it is simply because the necklace or bracelet is very heavy. Other times, it is just a matter of wear and tear. The movement in the jewelry puts constant pressure on a ring.
So, remember how you’re always being told to slide rings back and forth to open them? Never pull them apart… Well, the weight or movement can often result in the same effect as pulling a ring apart. The ring ends up out of shape and you will struggle to close it properly.
I’ve mentioned solder or glue as a possible solution. But, if I’m honest, I prefer to avoid that option.
So, if you’re struggling with rings that keep pulling apart, my advice is: don’t use a jump ring!
Better options
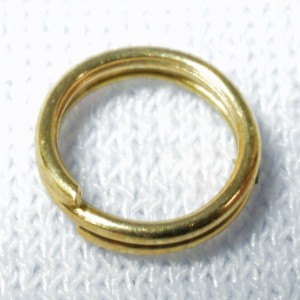
You have two other kinds of ring:
- split rings
- closed rings
Both of these are better than jump rings if you want to avoid that pulling apart issue. If you’re not sure what these rings are, you can find more information in this blog. In the photos below, I’ve just given you a little reminder of what they look like.
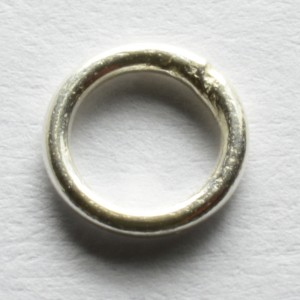
The closed ring (on the right) is just like a jump ring, but it has been soldered shut. So, it won’t open. That means, it’s not a good option if you need to use it to link one component to another.
However, it is great if you want to link a bead-weaving piece to a clasp, and your clasp has a ring that will open. You can stitch the beadwork onto the closed ring. You know the thread isn’t going to slip through any gaps because there are none! Then you can use the ring on the clasp to attach the clasp to the closed ring.
The split ring (on the left) is basically a spiral of metal. So, you can open it to add other components onto it. The spiral structure means that it won’t pull apart.
So, this is a particularly good option for attaching heavy sections of jewelry. I also love it for attaching magnetic clasps…
An example
My favourite magnetic clasp is this Mag-Lok brand. It is strong, but small enough to be practical. And it works well for fastening both necklaces and bracelets.
The only problem is, its rings are soldered shut. So, in order to attach it, you have to use a ring that you can open. (Unless you are stitching it onto a piece…although I have had it rip through thread, so I stopped stitching it direct when I realised this could be an issue).
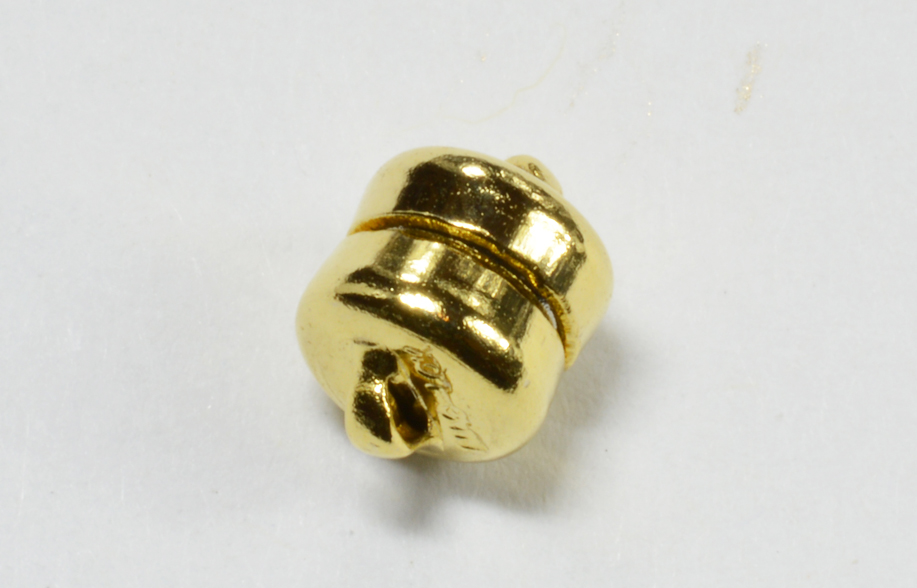 So, in my early days, I used jump rings to attach this. But I soon discovered that the magnet is so strong that it pulls a lot on the rings every time you try to unfasten it. Within a relatively short space of time, the rings would pull apart and the clasp – or bracelet – would fall off.
That’s when I started using a split ring. I would thread that onto the magnetic clasp. Then stitch my beadwork onto the split ring. So, I ended up with the best of both worlds: a clasp that was secure and practical.
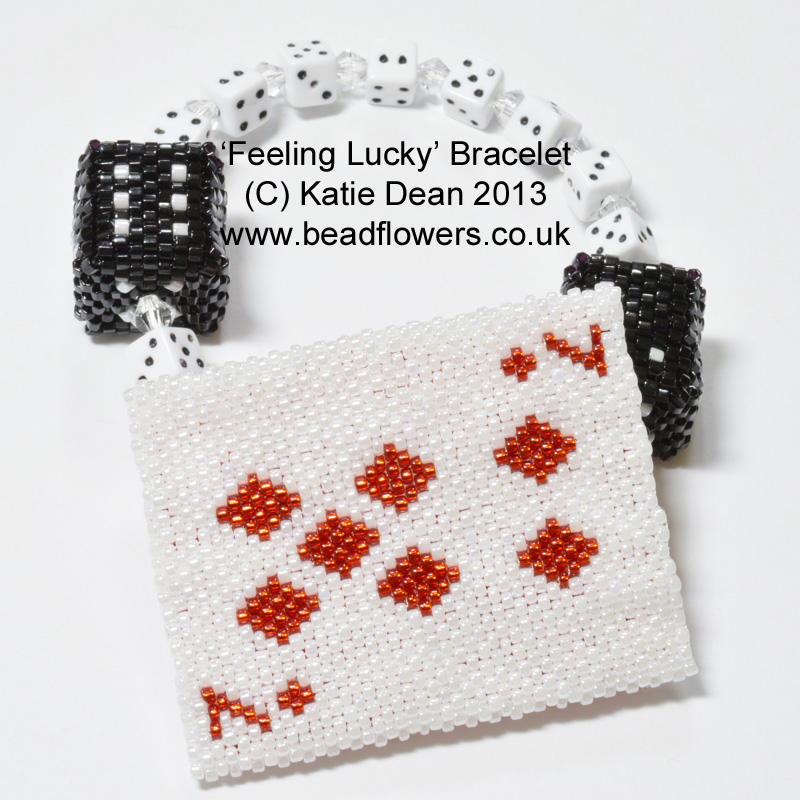 I used that technique when I made this bracelet (you can find the pattern here). So, I was able to disguise the clasp, but create a design that was really easy to wear. The magnetic clasp allowed me to fasten the bracelet easily and I could rely on it staying on my wrist!
To sum up…
If you want to create jewelry that stands the test of time, you need to know how and when to use jump rings effectively. Hopefully this has explained the problems that can crop up and some solutions to deal with them.
So, next time you are thinking about using a jump ring, ask yourself these questions:
- Is a jump ring the best solution, or would I better with a closed ring or split ring?
- If a jump ring is necessary, then should I use French wire, or a calotte, or a beaded strand to secure it?
That should help you to avoid the annoyance of losing your jewelry because a jump ring let you down!
Remember, if you have beading questions and you want answers, you can join the better beader group by following this link. It’s completely free and has resources for everyone, no matter whether you’re a complete beginner or a more experienced beader.


Sometimes you can fit a jump ring through a seed bead, which is more secure
Yes – that’s a great point to mention. Thank you! I find size 8 (or larger) seed beads are best for that. And it’s great because the jump ring closure can be moved round to sit inside the seed bead, helping to keep it shut.