
Cellini Spiral Stitch: your complete guide
Cellini spiral stitch is just a variation of Peyote stitch. You can make a flat Cellini spiral or a tubular version.

Obviously, the tubular variation looks like a spiral. The flat variation looks more like a diagonal stripe.
So, what is so special about Cellini spiral stitch? In a word: texture.
This technique is all about mixing different sizes of beads so you end up with a gorgeous textured effect.
Flat Cellini Spiral Stitch
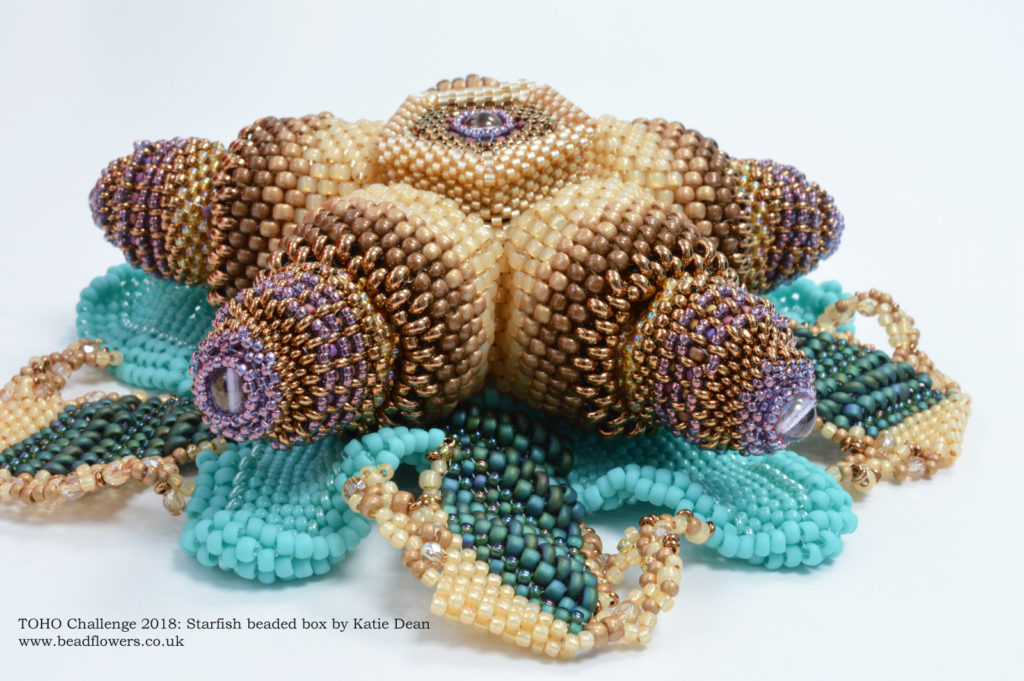
Take a little look at the sea (the blue sections) in my TOHO challenge entry for 2019 (above). I used flat Cellini spiral stitch in these to create the effect of waves.
In essence, I was just beading strips of even count Peyote. But, by varying the bead sizes in each stitch, I forced the beadwork to wrinkle and ‘wave’.
CLICK HERE TO LEARN CELLINI SPIRAL STITCH VIA VIDEO DEMONSTRATIONS
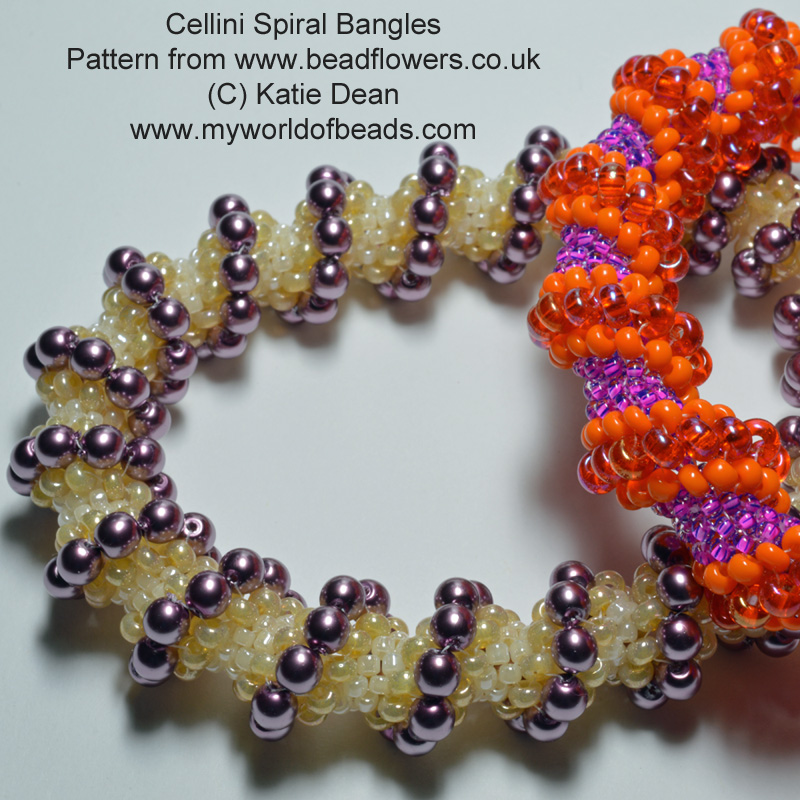
Tubular Cellini Spiral Stitch
The texture on a flat Cellini spiral may not be as obvious as it is on the tubular version.
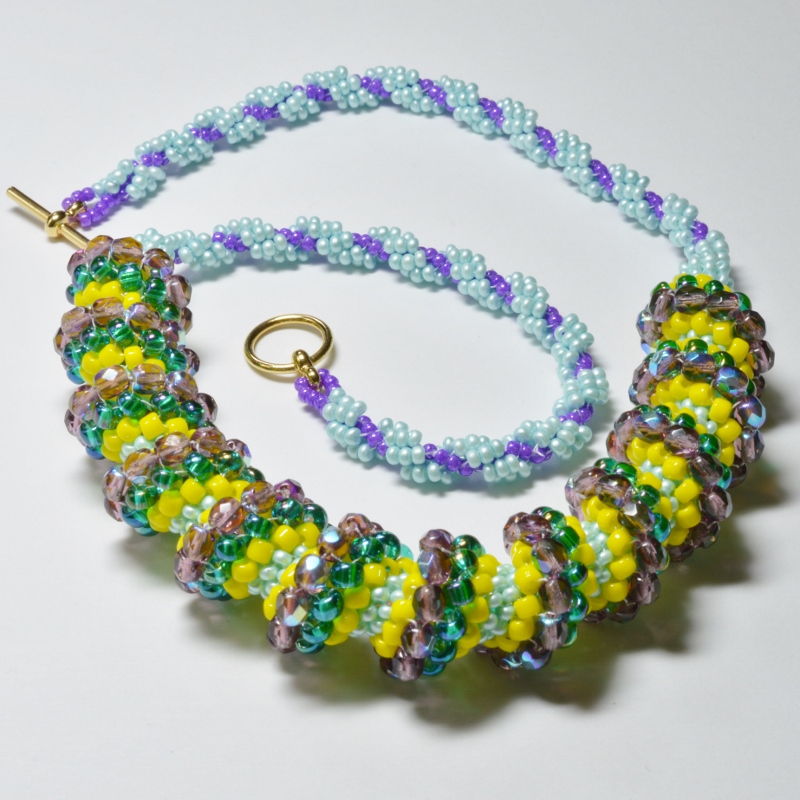
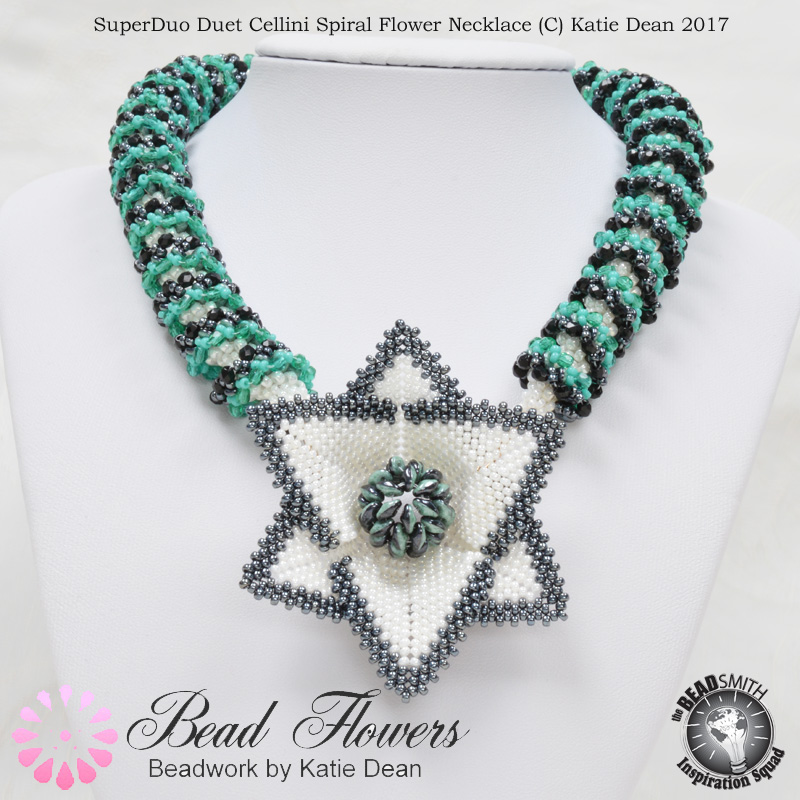
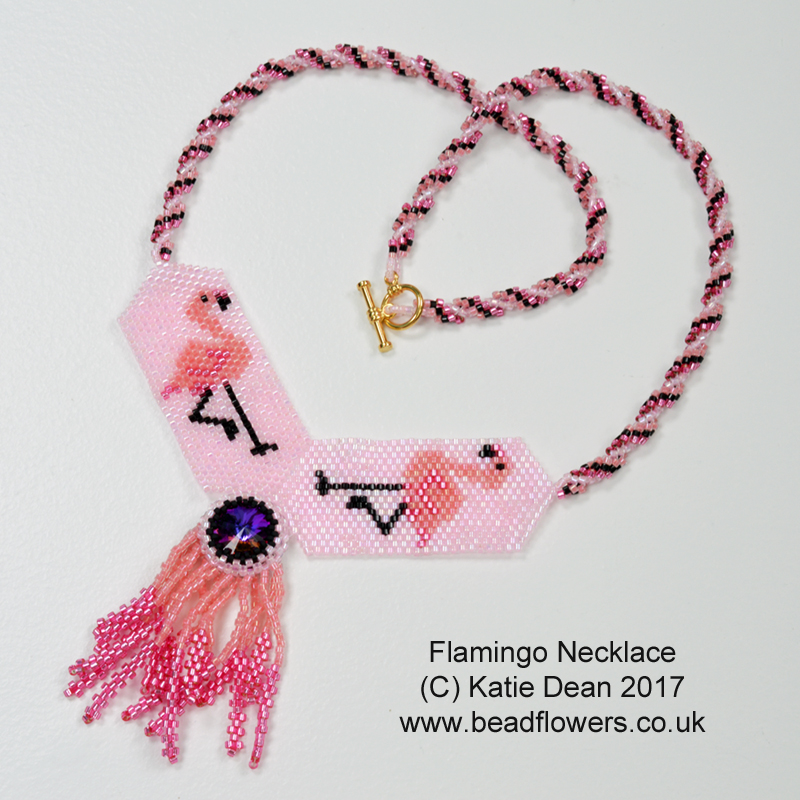
In this necklace, I created a full section of tubular Cellini spiral stitch for the front focal area. I could have continued this all the way around. But I decided to add basic spiral beaded ropes instead.
This brings me neatly to a little aside. Not all beaded spirals are Cellini spiral. You can use many different techniques to create a beaded spiral. Cellini spiral stitch is just one of those.
So, if you are interested in learning about beaded spirals in general, take a look at this blog. It covers a few different variations that you can try. And it is worth learning how to make spiral ropes. They are a quick and easy way to make an interesting necklace or bracelet.
Cath Thomas and Cellini Spirals
Like any other variation of Peyote stitch, there is so much you can do with a Cellini spiral.
So, let me introduce you to Cath Thomas, Swiss bead artist. She has devoted a lot of time to experimenting with Cellini spiral techniques. Her designs build on the basic tubular and flat variations to create all manner of interesting shapes and textures.
Take a look at this gorgeous selection…
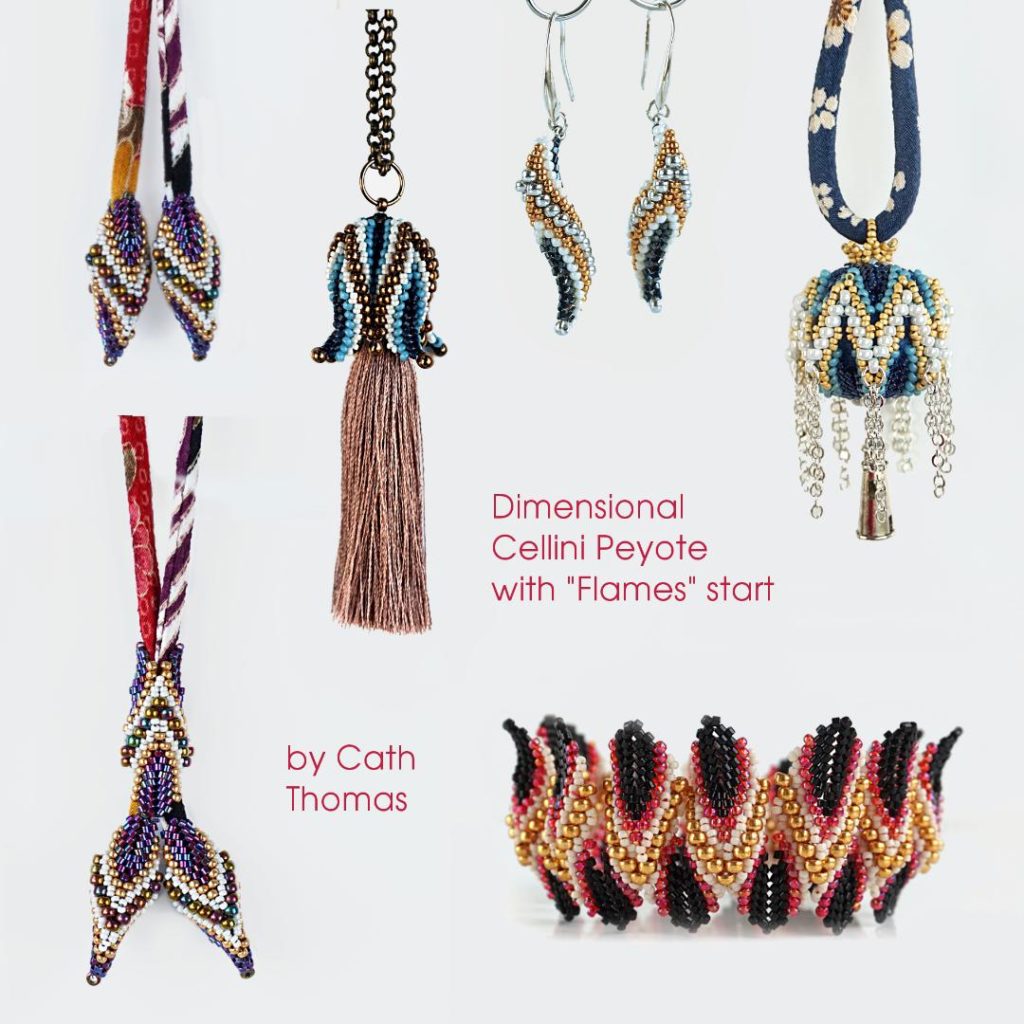
…if you want to try any of these patterns (and more), just click on the photo to reach Cath’s website.
Cellini spirals for texture
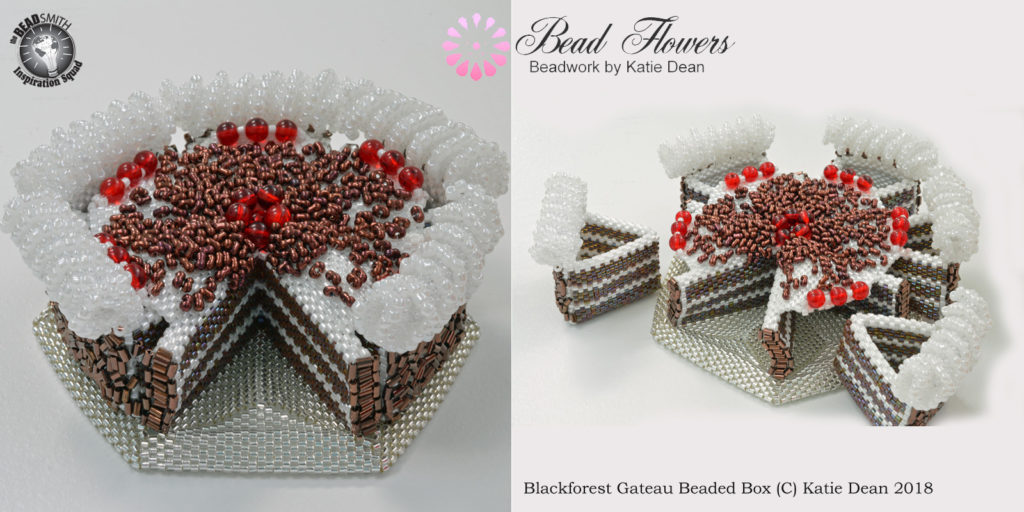
I have also found the Cellini spiral technique is great for creating the texture of cream.

Yes, you did read that right… And yes, I do mean the edible kind of cream that you put on cakes and desserts.
I’m quite well-known for my beaded food. So, discovering that a white Cellini spiral looked rather like ‘squeezy cream’, opened up a whole new world of possibilities!
Further exploration also led me to discover that you can combine tubular Cellini spiral with decreasing (or increasing). So, you actually shape the spiral, not just create a tube…
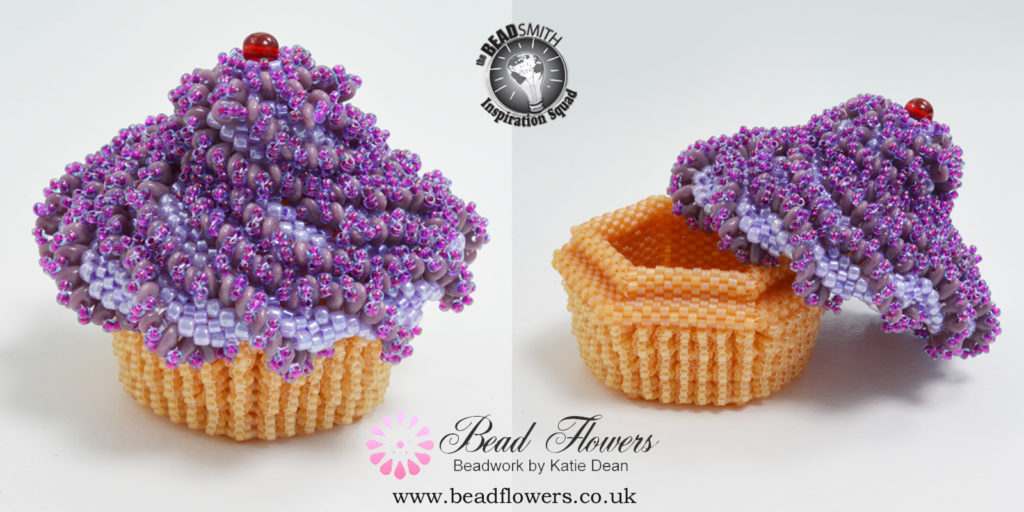
Then, of course, you can begin to incorporate two-holed beads, like SuperDuos, into your work. So, this would give you a layered spiral. Almost two spirals in one!
This, in turn, opens up the possibility of embellishing that second spiral layer. And so the innovations go on…
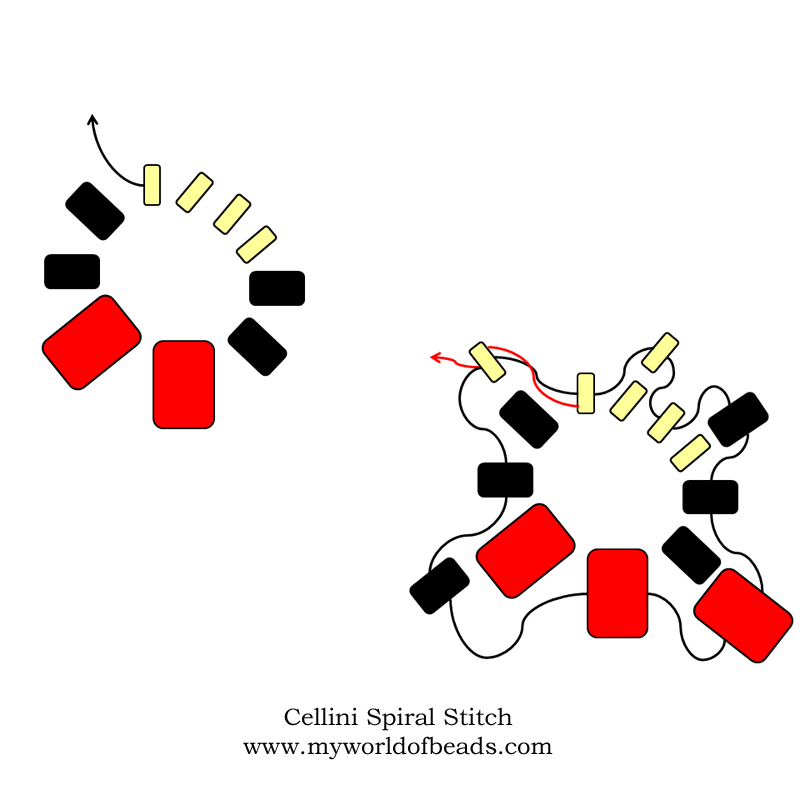
How do you do Cellini spiral stitch?
There is no ‘stitch’ as such. This technique is all about creating a texture by changing your bead sizes.
So, for example, you might have a piece of Peyote with five beads in a row (it could be tubular or flat).
Bead number one would be a size 11, bead number two would be a size 8, bead number three would be a size 6, bead number four would be a size 8 and bead number five would be a size 11.
See how the bead sizes gradually increase and decrease?
You don’t have to keep to a gradual increase and decrease pattern. You could also use a gradual increase followed by a big leap.
So, this could be… Bead number one = size 11, Bead number two = size 11, Bead number three = size 8, Bead number four = size 6, Bead number five = size 11.
The point is, you can play around and experiment with how you change the bead sizes up and down.
Starting Cellini Spiral Stitch
Remember how your Peyote stitch always starts by creating rows one and two together, in that initial strip of beads? (If you need a reminder, here is the basic guide to tubular Peyote). Well, Cellini spiral is no exception.
So, in order to do this, you need to think about the structure you have decided to try. Let’s go with my first idea…
If I want to end up with a sequence of 11/0, 11/0, 8/0, 6/0, 8/0, then I need to pick up four size 11/0, two size 8/0, two size 6/0 and pass through them to form a ring.
I then need to make sure I start from the correct place when I come to add row 3. So, that would be from the second of my four 11/0 beads.
Note: if I want to start from a different point, I can, but I would need to alter my bead sequence accordingly.
From here, I can follow my sequence, remember my step up, and just keep following the same sequence for every single row.
The starting principle would be the same for a flat piece, but, as with normal even count, you will be working rows back and forth. So, your bead order is going to ‘move’ in each row. Rather than focusing on the order, you need to focus on creating the diagonal stripe.
In my opinion, flat Cellini spiral stitch is actually more complicated than the tubular variation. Normally you would expect it to be the other way around!
If you’re ready to learn the technique, this online class gives you over 30 minutes’ of video demonstration teaching you both Cellini spiral variations. It’s perfect for beginners, or for anyone who struggles with the technique.
Top Tips for Cellini Spiral Stitch
The only reason this technique can be difficult to master is because of the different bead sizes. If you’re used to working in Peyote stitch, then you will be used to the beads clicking into place. As soon as you start playing around with sizes, this changes.
The beads will still click into position, but it takes a few rows to see this happen. And you need to maintain a fairly tight tension to force the beads into place.
It is this forcing into place that will make them bulge and create the texture. If you allow them to just sit where they want, the structure doesn’t work.
So, my top tip is to focus on your tension.
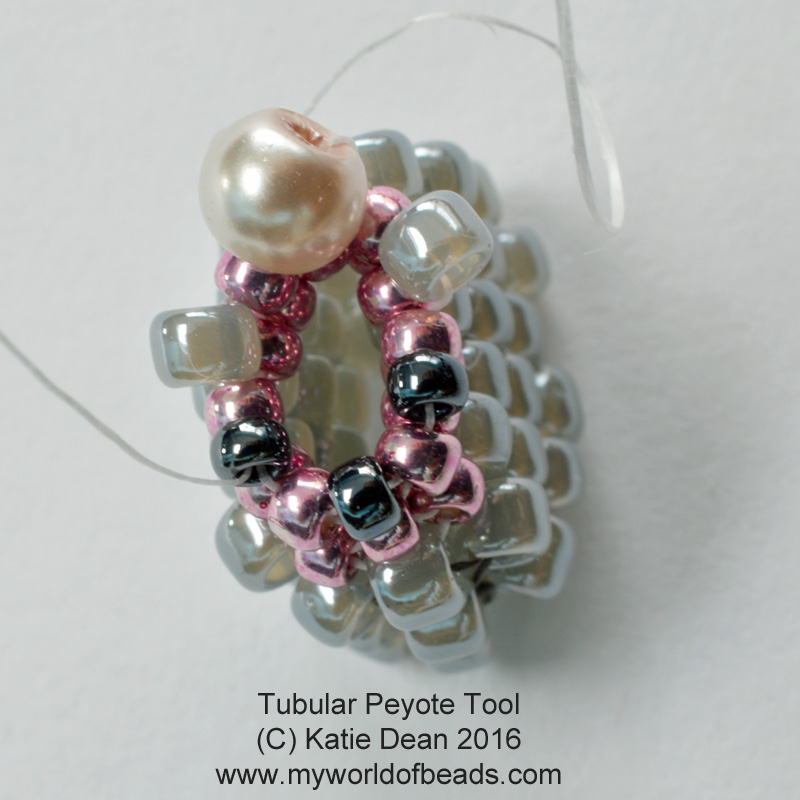
I also find that using my bead tool to start will help you see where you are going and get that tension right immediately.
The Mantra…
If you are working in tubular Cellini spiral, you can remember this mantra…
The bead you add next will be the same as the bead you have just exited.
So, if you get lost or confused, just look at the bead your thread is coming out of and then pick up the same bead for your next stitch. This will keep the spiral going!
Unfortunately this mantra won’t work quite the same for flat Cellini spiral.
It is fine as you go one way, but as you move the other way, you will need to reverse it. So, the bead you pick up will be the same as the bead you are about to enter.
Which is why I suggest that you focus on looking at the beads to keep your ‘spiral’ (diagonal line, really) going in flat Cellini spiral.
What next…?
Now you’ve got some idea of the principle, it’s time to start trying it out. (And again, if you need more help, everything is explained beautifully in the video demonstrations in this online class). As I said earlier, there is no one ‘Cellini spiral stitch’. Every pattern you try will use this principle of altering bead sizes, but will find a different combination.
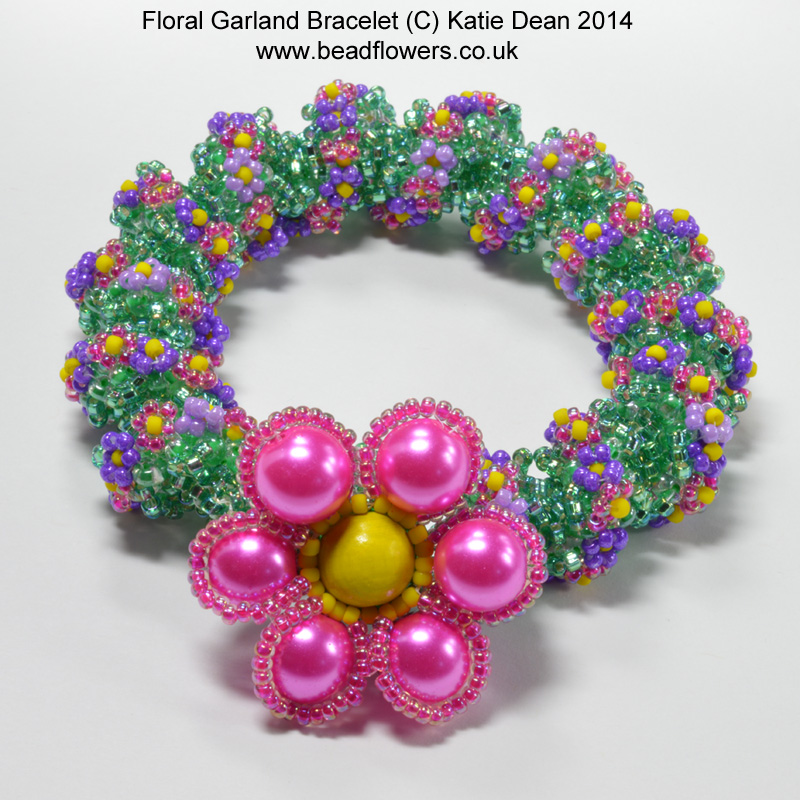
So, let me get you started with a beginner level pattern for a bangle. Then you can go ahead and explore on your own, or try out some other patterns.
You can also bookmark this page to return to any time you need a refresher. And, if this has helped you, please share it with your friends too!


Thank you for sharing your patterns
You’re very welcome!
You are a wonder Katie and you are lovely to mention Cath xo
That’s very kind of you, Karyn. I know Cath is more of an expert on Cellini than I am. So, her patterns are a great collection for anyone who wants to explore this topic 🙂
Bravo et merci pour cet article très intéressant !
merci de parler de Cath Thomas !
merci de votre partage !
You’re very welcome, Marie. Thank you for reading this!
Katie